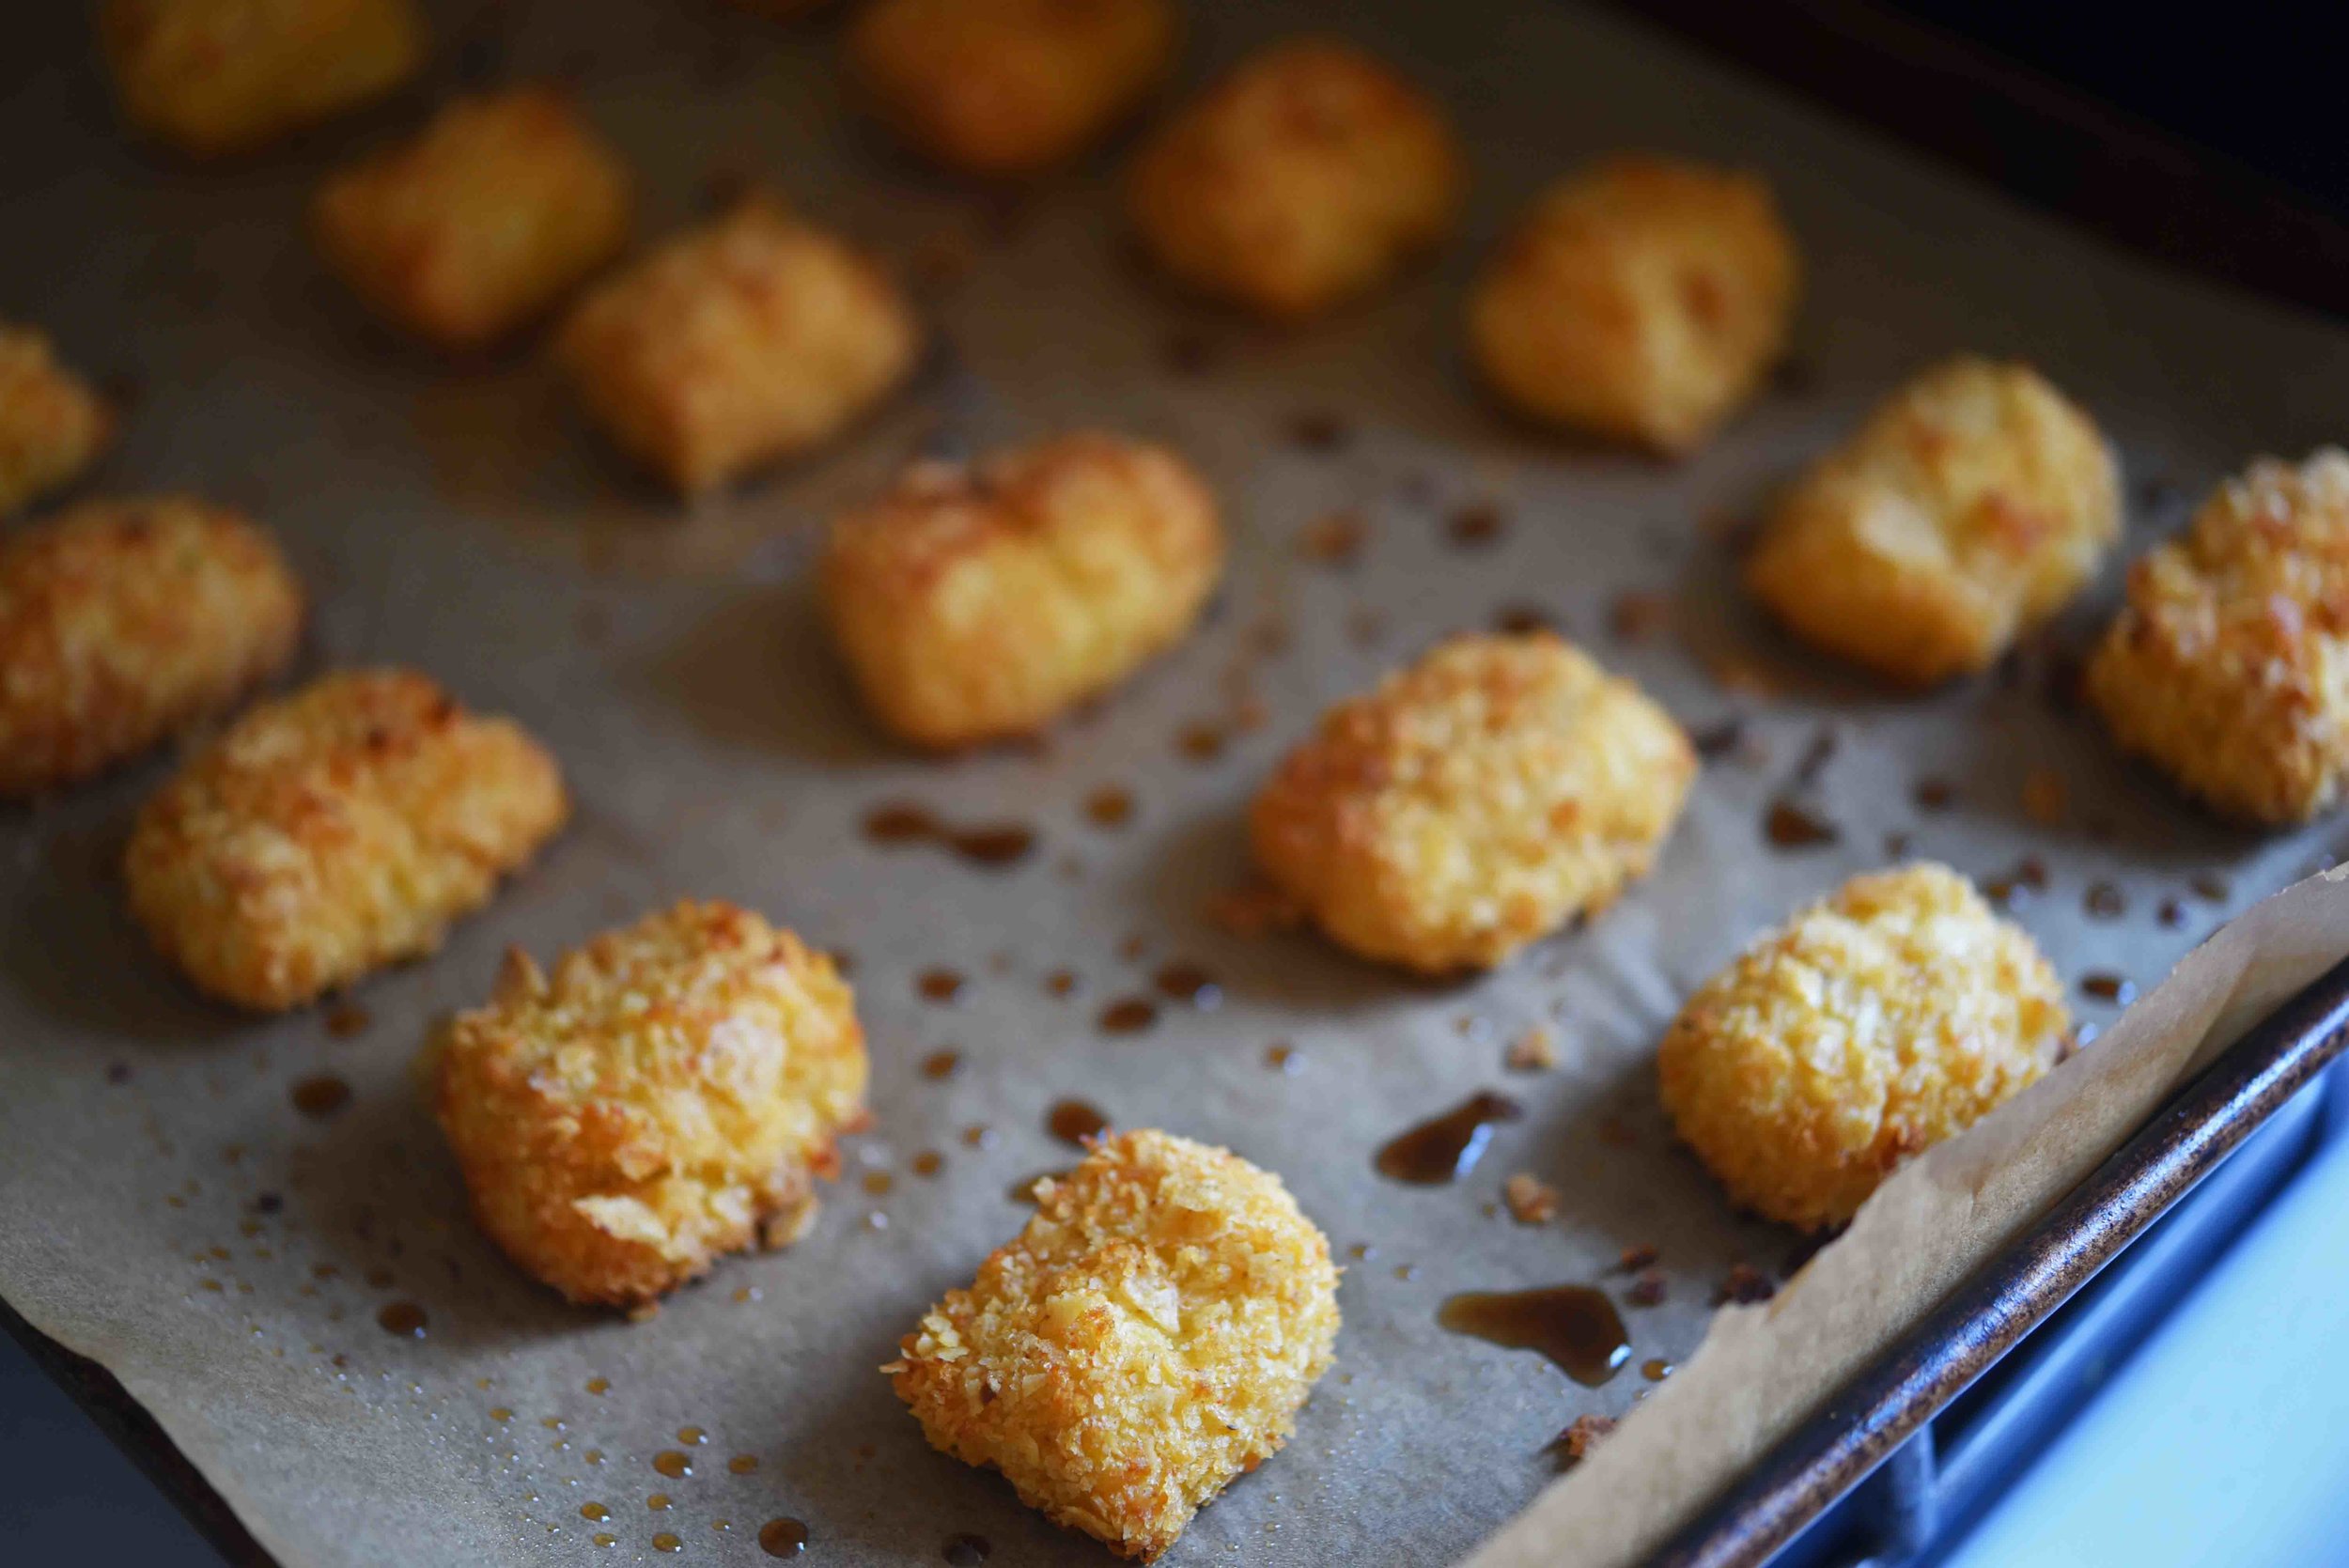
Cauliflower Tater Tots

Who doesn’t love a tater tot?

Crunchy on the outside, pillowy soft on the inside...

Simple and yet simply satisfying.

So if they're already so good, why would I mess with them and make a different version?
Because cauliflower tater tots are also delicious--that's why!

This recipe isn’t about making a healthy version of something you already love.
It’s about celebrating the tater tot with a new and equally yummy recipe.

And just so you understand how yummy, let me tell you that I have some of these stored in my freezer and the goal is to avoid consuming any more than 12 each day.
It's so hard to do!
Cauliflower Tater Tots
servings: 2 dozen tater tots


Ingredients:
- 1 small head cauliflower (about 1½ pounds), stemmed, coarsely chopped + rinsed
- 2 large eggs
- ½ cup all-purpose flour
- ½ cup grated parmesan cheese (about 2½ ounces)
- 1½ teaspoon kosher salt
- 1 teaspoon garlic powder
- Pinch of ground black pepper
- ¾ cup crushed yellow corn tortilla chips
- ¾ cup plain panko bread crumbs
- ½ teaspoon paprika
Directions:
- Preheat the oven to 425°F. Place the cauliflower into the bowl of a food processor and pulse until it is coarse and grain-like in texture (you should have about 2 cups of this cauliflower “rice”).
- Then transfer the cauliflower to a large bowl with the eggs and mix together to combine. Mix in the flour, parmesan, salt, garlic powder, and pepper.
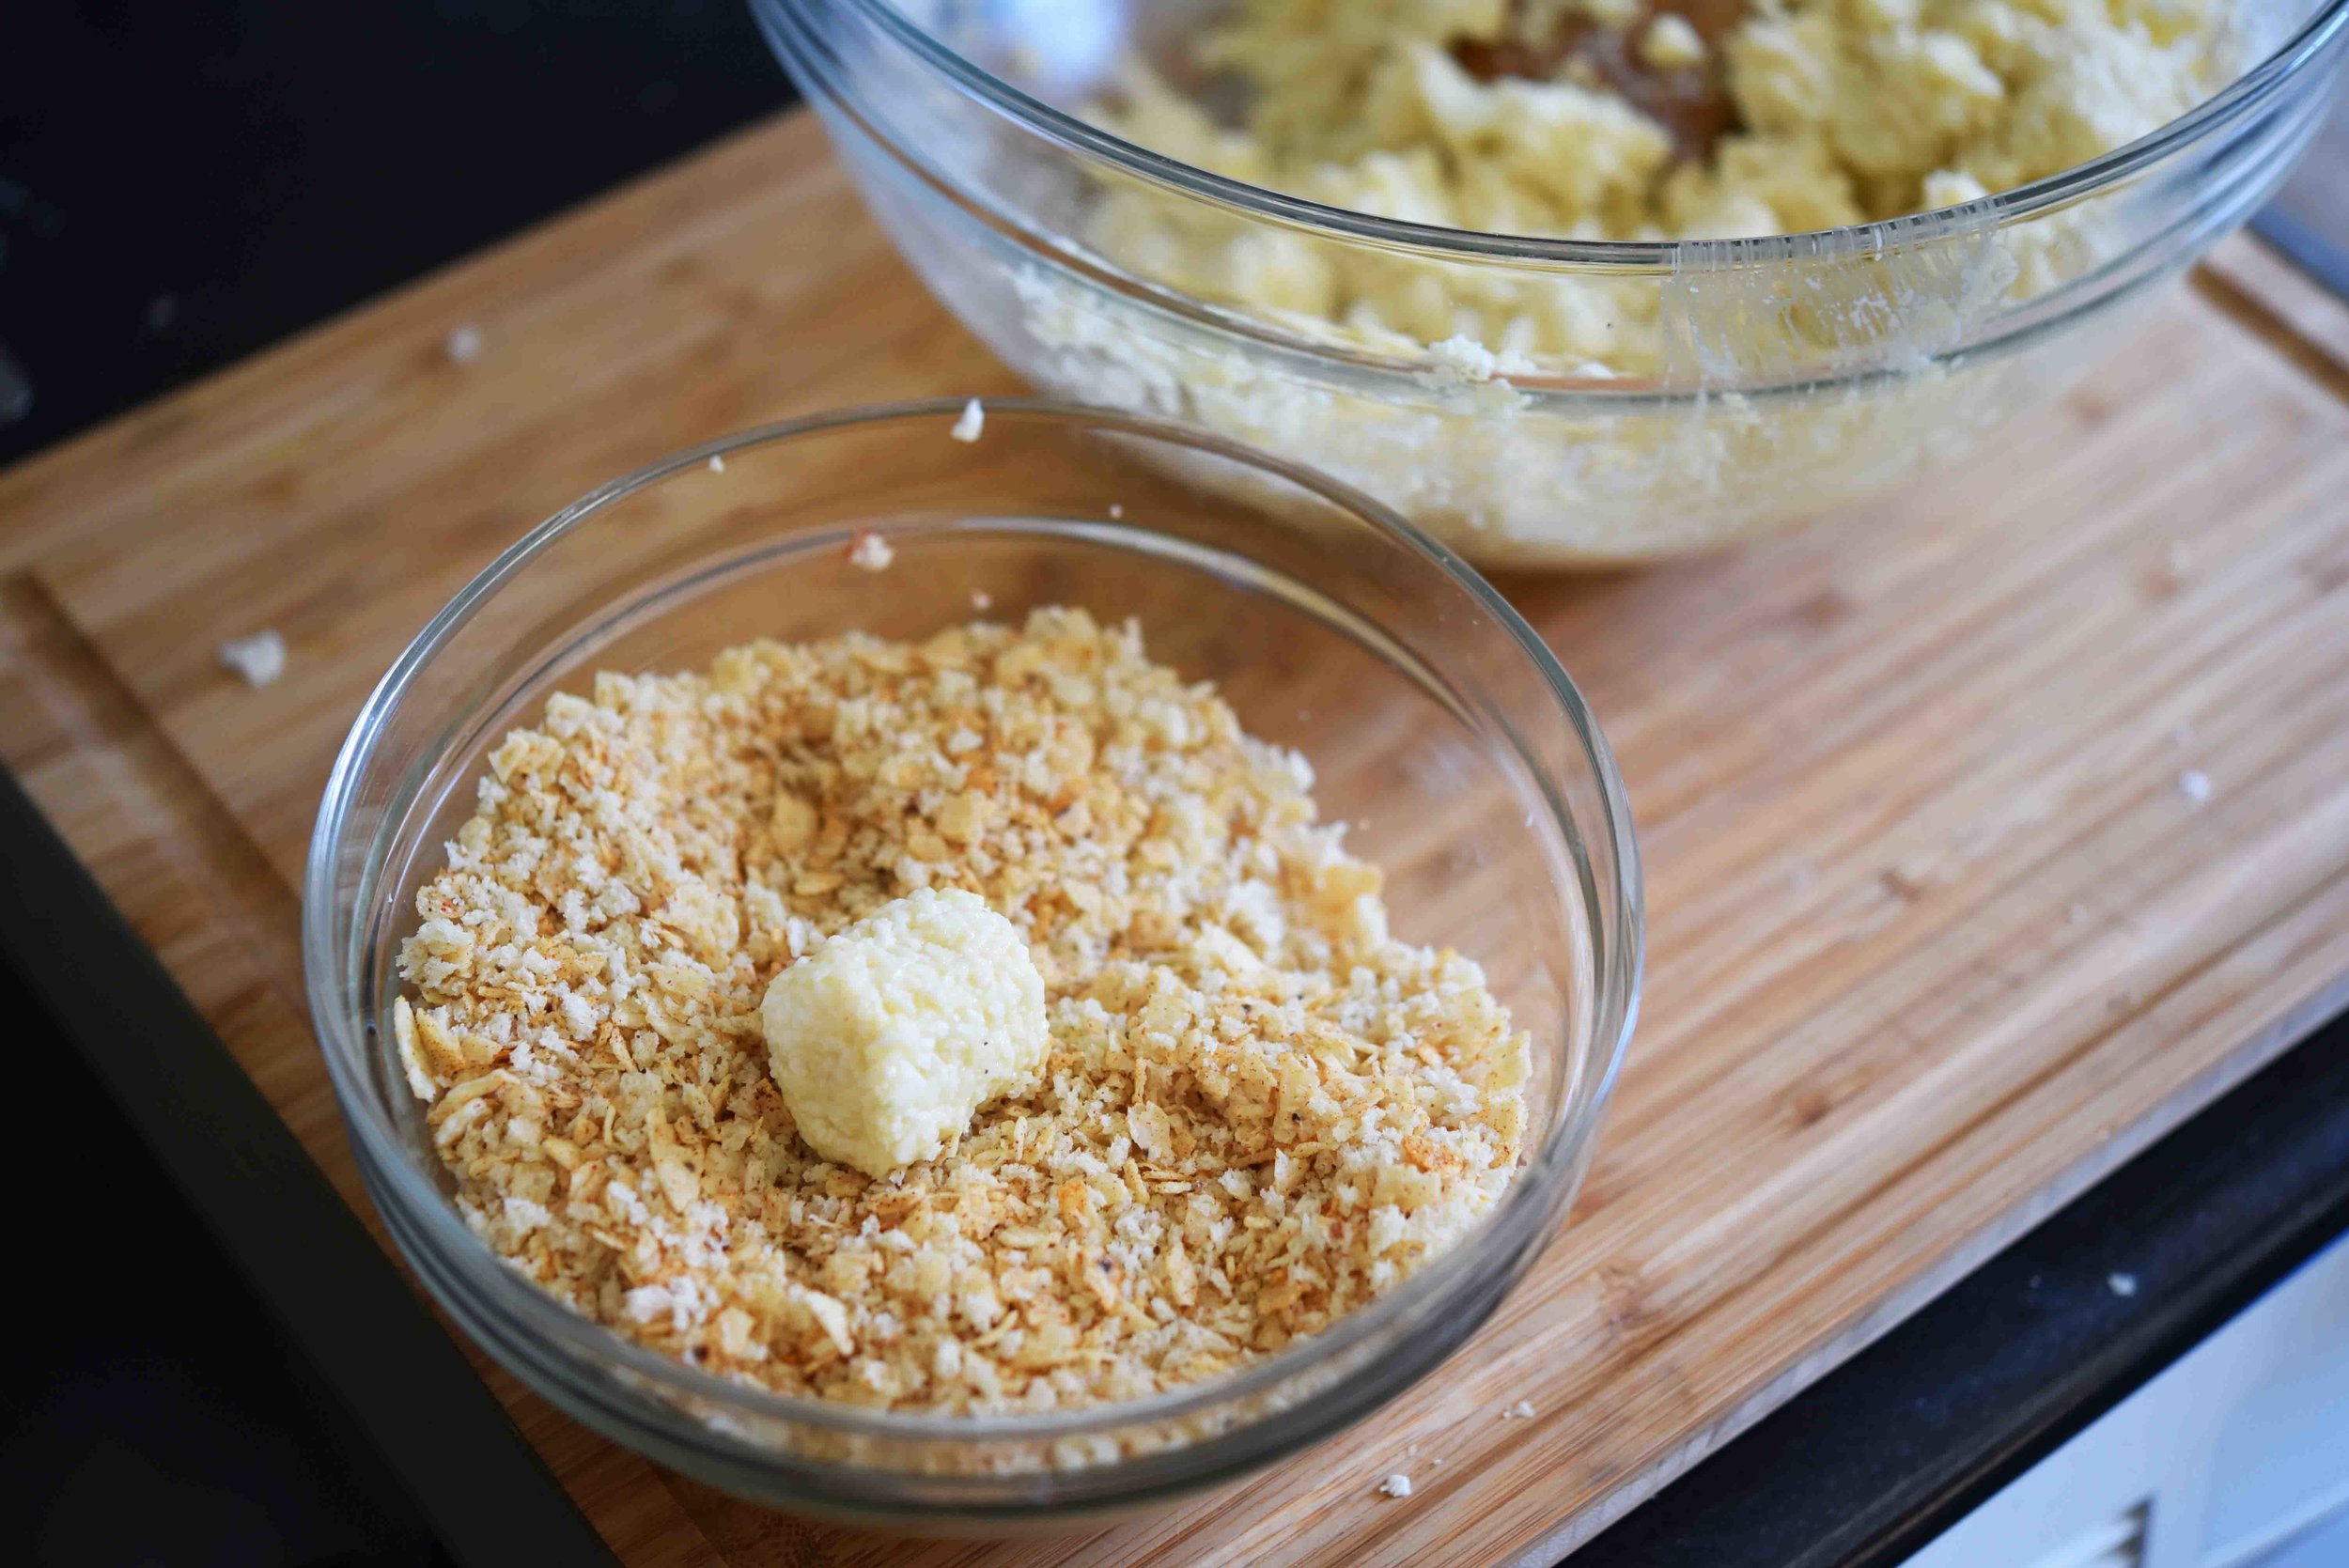
- Add the corn chips to the food processor and pulse until the chip pieces are close to the size of panko breadcrumbs (this should make about 1 cup). If you don’t have a food processor you can also place the chips in a food storage bag and smash them with a pan or rolling pin. Then transfer the corn chip pieces to a medium-sized bowl along with the panko and paprika and mix these ingredients well.
- Using your hands, roll the cauliflower mixture and pack it tightly by the tablespoon into tater tot (or other desired) shapes approximately 1 inch wide and 2 inches long. Roll each tater tot in the corn chip breading mixture, reshaping afterwards if necessary.
- Place the formed tater tots on a nonstick baking pan or a pan lined with parchment paper. Spray the tater tots lightly with nonstick spray and bake them until browned—about 20 minutes. Serve with ketchup if desired.
Notes:
- Freezer Instructions: Place cooked and cooled tots on a baking sheet or plate in a single layer. Let them freeze completely; once frozen place them in a plastic food storage bag. To re-heat, place in a 425°F oven on a baking sheet and cook for 10 minutes.