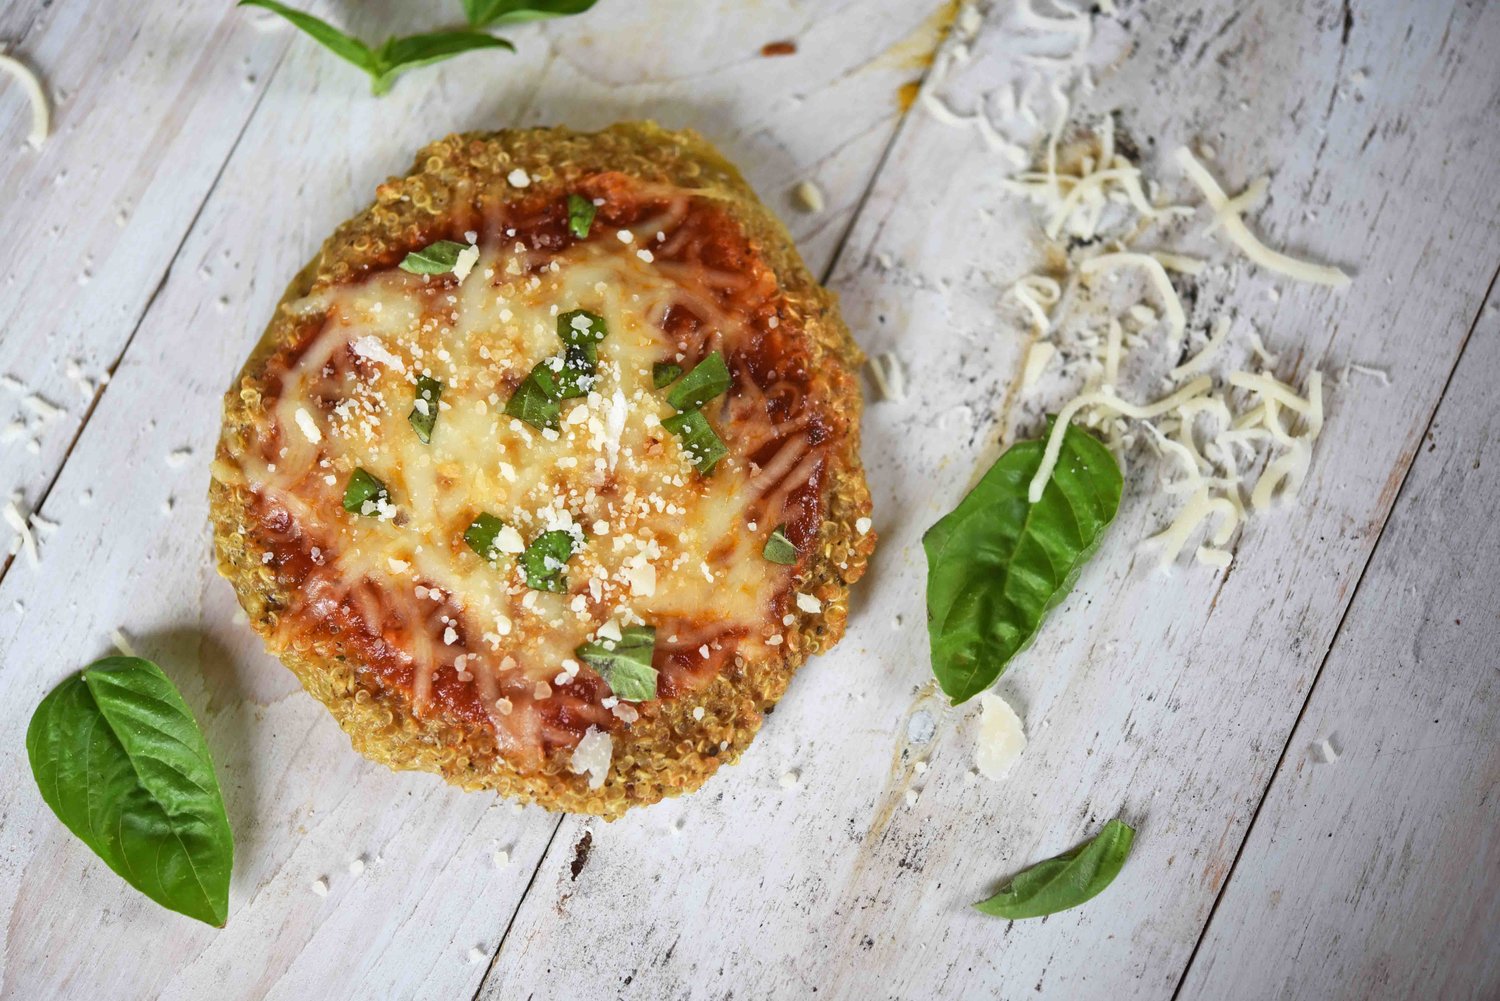
Quinoa Crust Cheese Pizzas

My kids have LOVED pizza since before they could even say “pizza!”

This obviously means that we have pizza once a week in our house (or, possibly four times a week?).

Often we go out to one of our local pizza places and then eat our slices in the park.
But lately I’ve been trying to find a version I can make at home that's a little healthier—but still satisfies our need for pizza!

These quinoa crust pizzas are remarkably easy.
You just cook up some quinoa and mix it with the eggs—which believe it or not—gives you a nice, sturdy crust.

If you're trying to understand how that wet mixture of quinoa, eggs, baking powder, and Italian seasoning forms a crust, you'll have to trust me.
It firms up so beautifully in the oven and is one of the most robust alternative-type crusts I've ever made.

This crust has a slightly wheat-y taste, which my kids don’t mind at all.
But if you have an extra picky eater, try making the crust on the thin side and loading on the toppings.
This will allow the focus to be more on the flavors of the sauce and cheese rather than the quinoa.

This is the kind of meal I love to make because you don’t feel like you're being healthy—you just feel like you're eating pizza!

These are also great to freeze so you have individual-sized pizzas ready to go anytime!

Quinoa Crust Cheese Pizzas
servings: Eighteen 4-inch pizzas

Ingredients:
- 1½ cups quinoa
- 6 large eggs
- 1½ teaspoons baking powder
- 1½ teaspoons Italian seasoning
- 1½ teaspoons kosher salt
- 2 cups pre-made pizza or tomato sauce
- 2 cups shredded mozzarella (16 ounces)
Directions:
- Preheat the oven to 450°F. Rinse the quinoa in a mesh strainer and then transfer it to a medium saucepan. Add 3 cups of water and bring to a boil over high heat; cover the pan and turn down the heat to maintain a simmer. Let the quinoa cook until it is tender—10 to 15 minutes, then transfer it to a medium bowl and let it cool.
- Mix the eggs, baking powder, Italian seasoning, and salt in a small bowl. Then add this mixture to the cooled quinoa and stir to combine.
- Line a baking sheet with parchment paper and pour the quinoa onto it; flatten and shape it with your hands into 4-inch-diameter rounds (using about ¼ cup of dough for each round), ¼- to ½-inch thick.
- Place the crusts in the oven and bake them until they are golden brown—about 15 minutes. Remove them from the oven and top each with about 2 tablespoons of the pizza or tomato sauce, then 2 tablespoons of the cheese.
- Return the pizzas to the oven until the cheese is melted—5 minutes more.
Notes:
- If your kids are weary of the quinoa crust, try adding some extra toppings so you have a lot of sauce and cheese and just a little crust in each bite. Another option is to make the crusts a little thinner.
- To Freeze: Let the crusts cool before adding the toppings; once cooled, add the toppings as in Step 4. Freeze the pizzas topped, but not baked. To heat from frozen, bake at 450°F until the cheese is melted and the crust is thawed through—7 to 10 minutes.