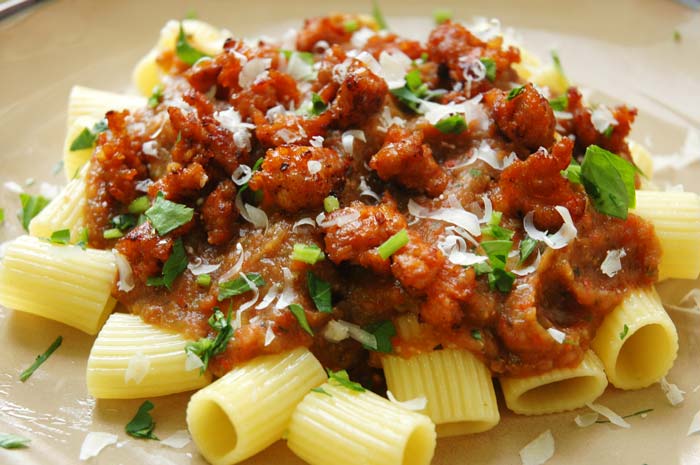
BLT Pasta Salad with Romaine Lettuce Dressing

This dish will be your new go-to—BLT Pasta Salad with Romaine Lettuce Dressing.
Yes, the dressing is actually made with lettuce!
Combined with the classic flavors of a BLT sandwich (minus the bread), it's the perfect dish to ring in Summer!
BLT Pasta Salad with Romaine Lettuce Dressing
servings: 4 to 6 servings, with about 2 cups Romaine Lettuce Dressing


Romaine Lettuce Dressing:
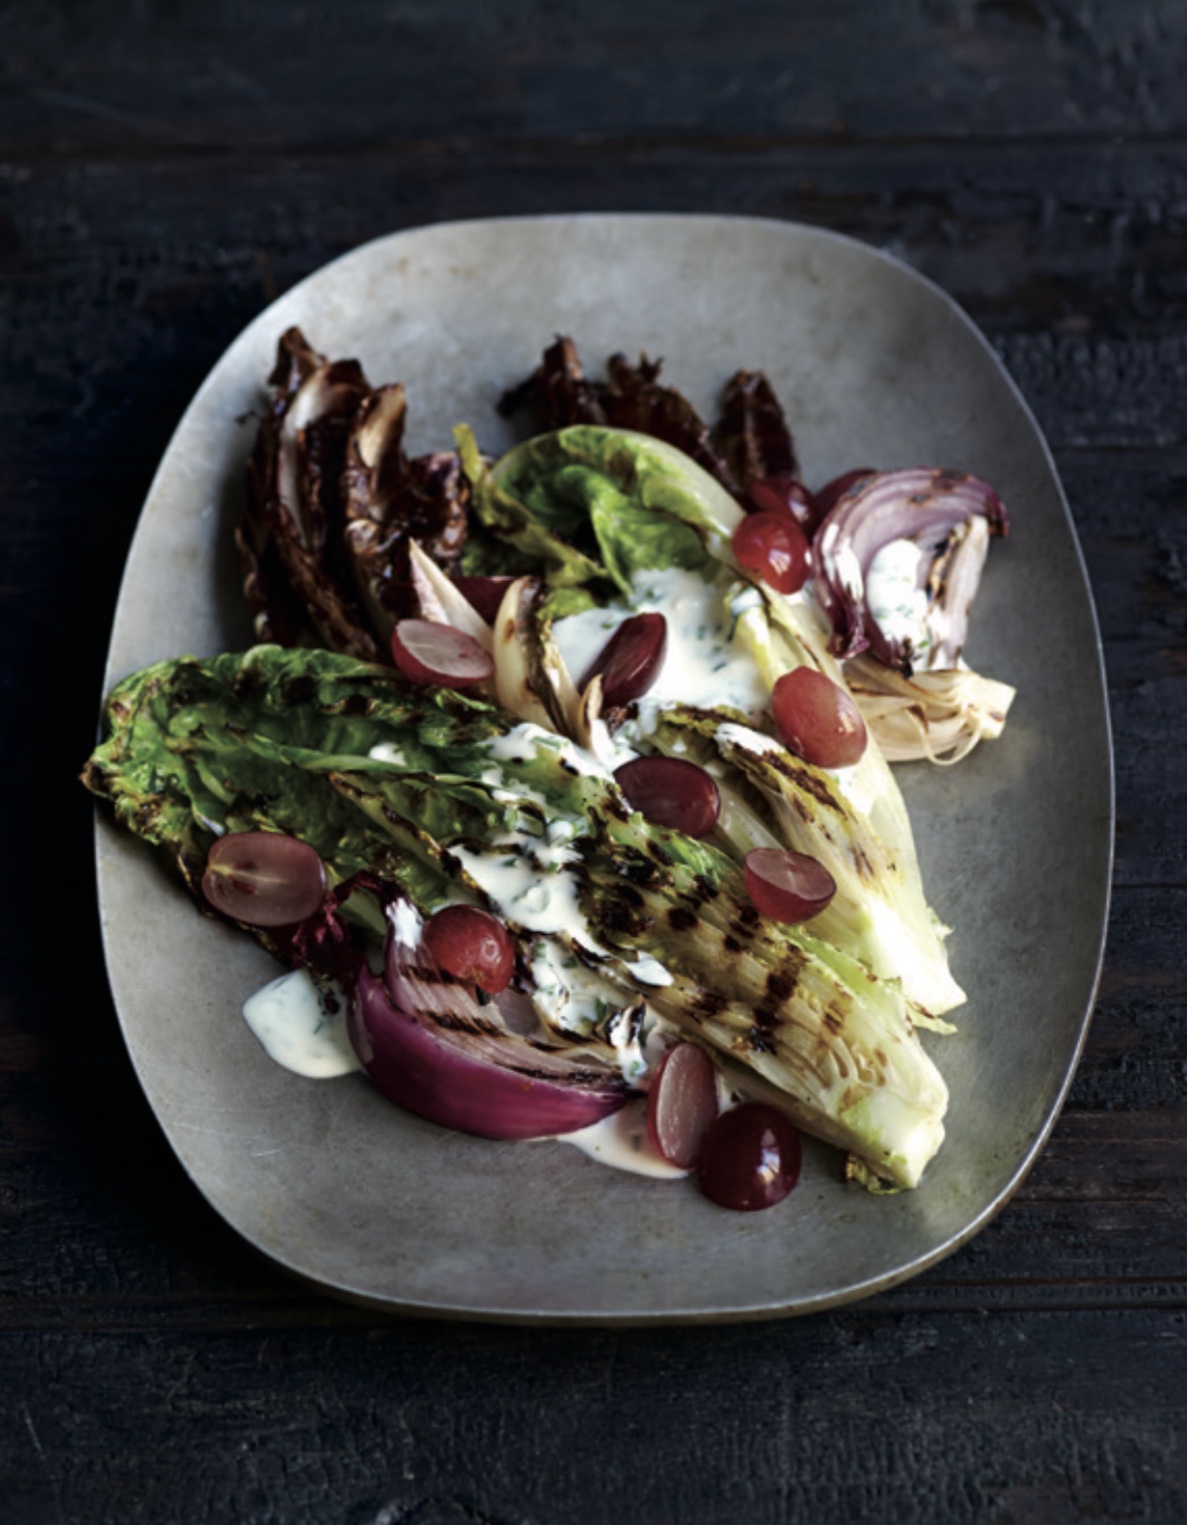
- 2 romaine hearts, halved
- 5 tablespoons olive oil
- ½ cup Greek yogurt
- Juice of 1 lemon
- 2 teaspoons Dijon mustard
- 1 teaspoon kosher salt
- ½ teaspoon ground black pepper
BLT Pasta Salad:
- 1 pound short-cut pasta
- 4 strips extra thick-cut bacon
- 2 cups Romaine Lettuce Dressing
- 2 cups lightly packed baby spinach or chopped romaine
- 2 cups halved grape tomatoes
- 1 cup finely chopped sundried tomatoes
- 1 small red onion, very thinly sliced (about 1 cup)
- 1 teaspoon kosher salt
- ½ teaspoon ground black pepper
Romaine Lettuce Dressing:
- Heat a grill pan over high heat. Then brush the 4 lettuce halves on the cut side with 1 tablespoon of the oil. Grill the lettuce cut-side-down until it is slightly charred and wilted—about 2 to 3 minutes. Remove the lettuce from the grill pan, coarsely chop it and discard the stems.
- Combine the lettuce, remaining 4 tablespoons of oil, yogurt, lemon juice, mustard, salt, and pepper in a food processor or blender. If all of the lettuce does not fit at one time, puree a portion of it, adding more as you do, until it is all in the food processor. Once it has all been pureed, set it aside for later.
BLT Pasta Salad:
- Place a large pot of salted water over high heat. When the water boils, add the pasta and cook it according to the package directions. Then drain it, rinse it under cold water, and set it aside.
- While the pasta cooks, in a large skillet over medium heat, cook the bacon until it is crispy—about 7 minutes. Transfer the bacon to paper towels. Once it is cool enough to handle, coarsely chop it; this should give you about 1½ cups of bacon pieces. Set the bacon aside for later.
- Toss the pasta with the Romaine Lettuce Dressing, spinach or romaine, grape tomatoes, sundried tomatoes, onion, salt, and pepper. Top it with the bacon and serve!