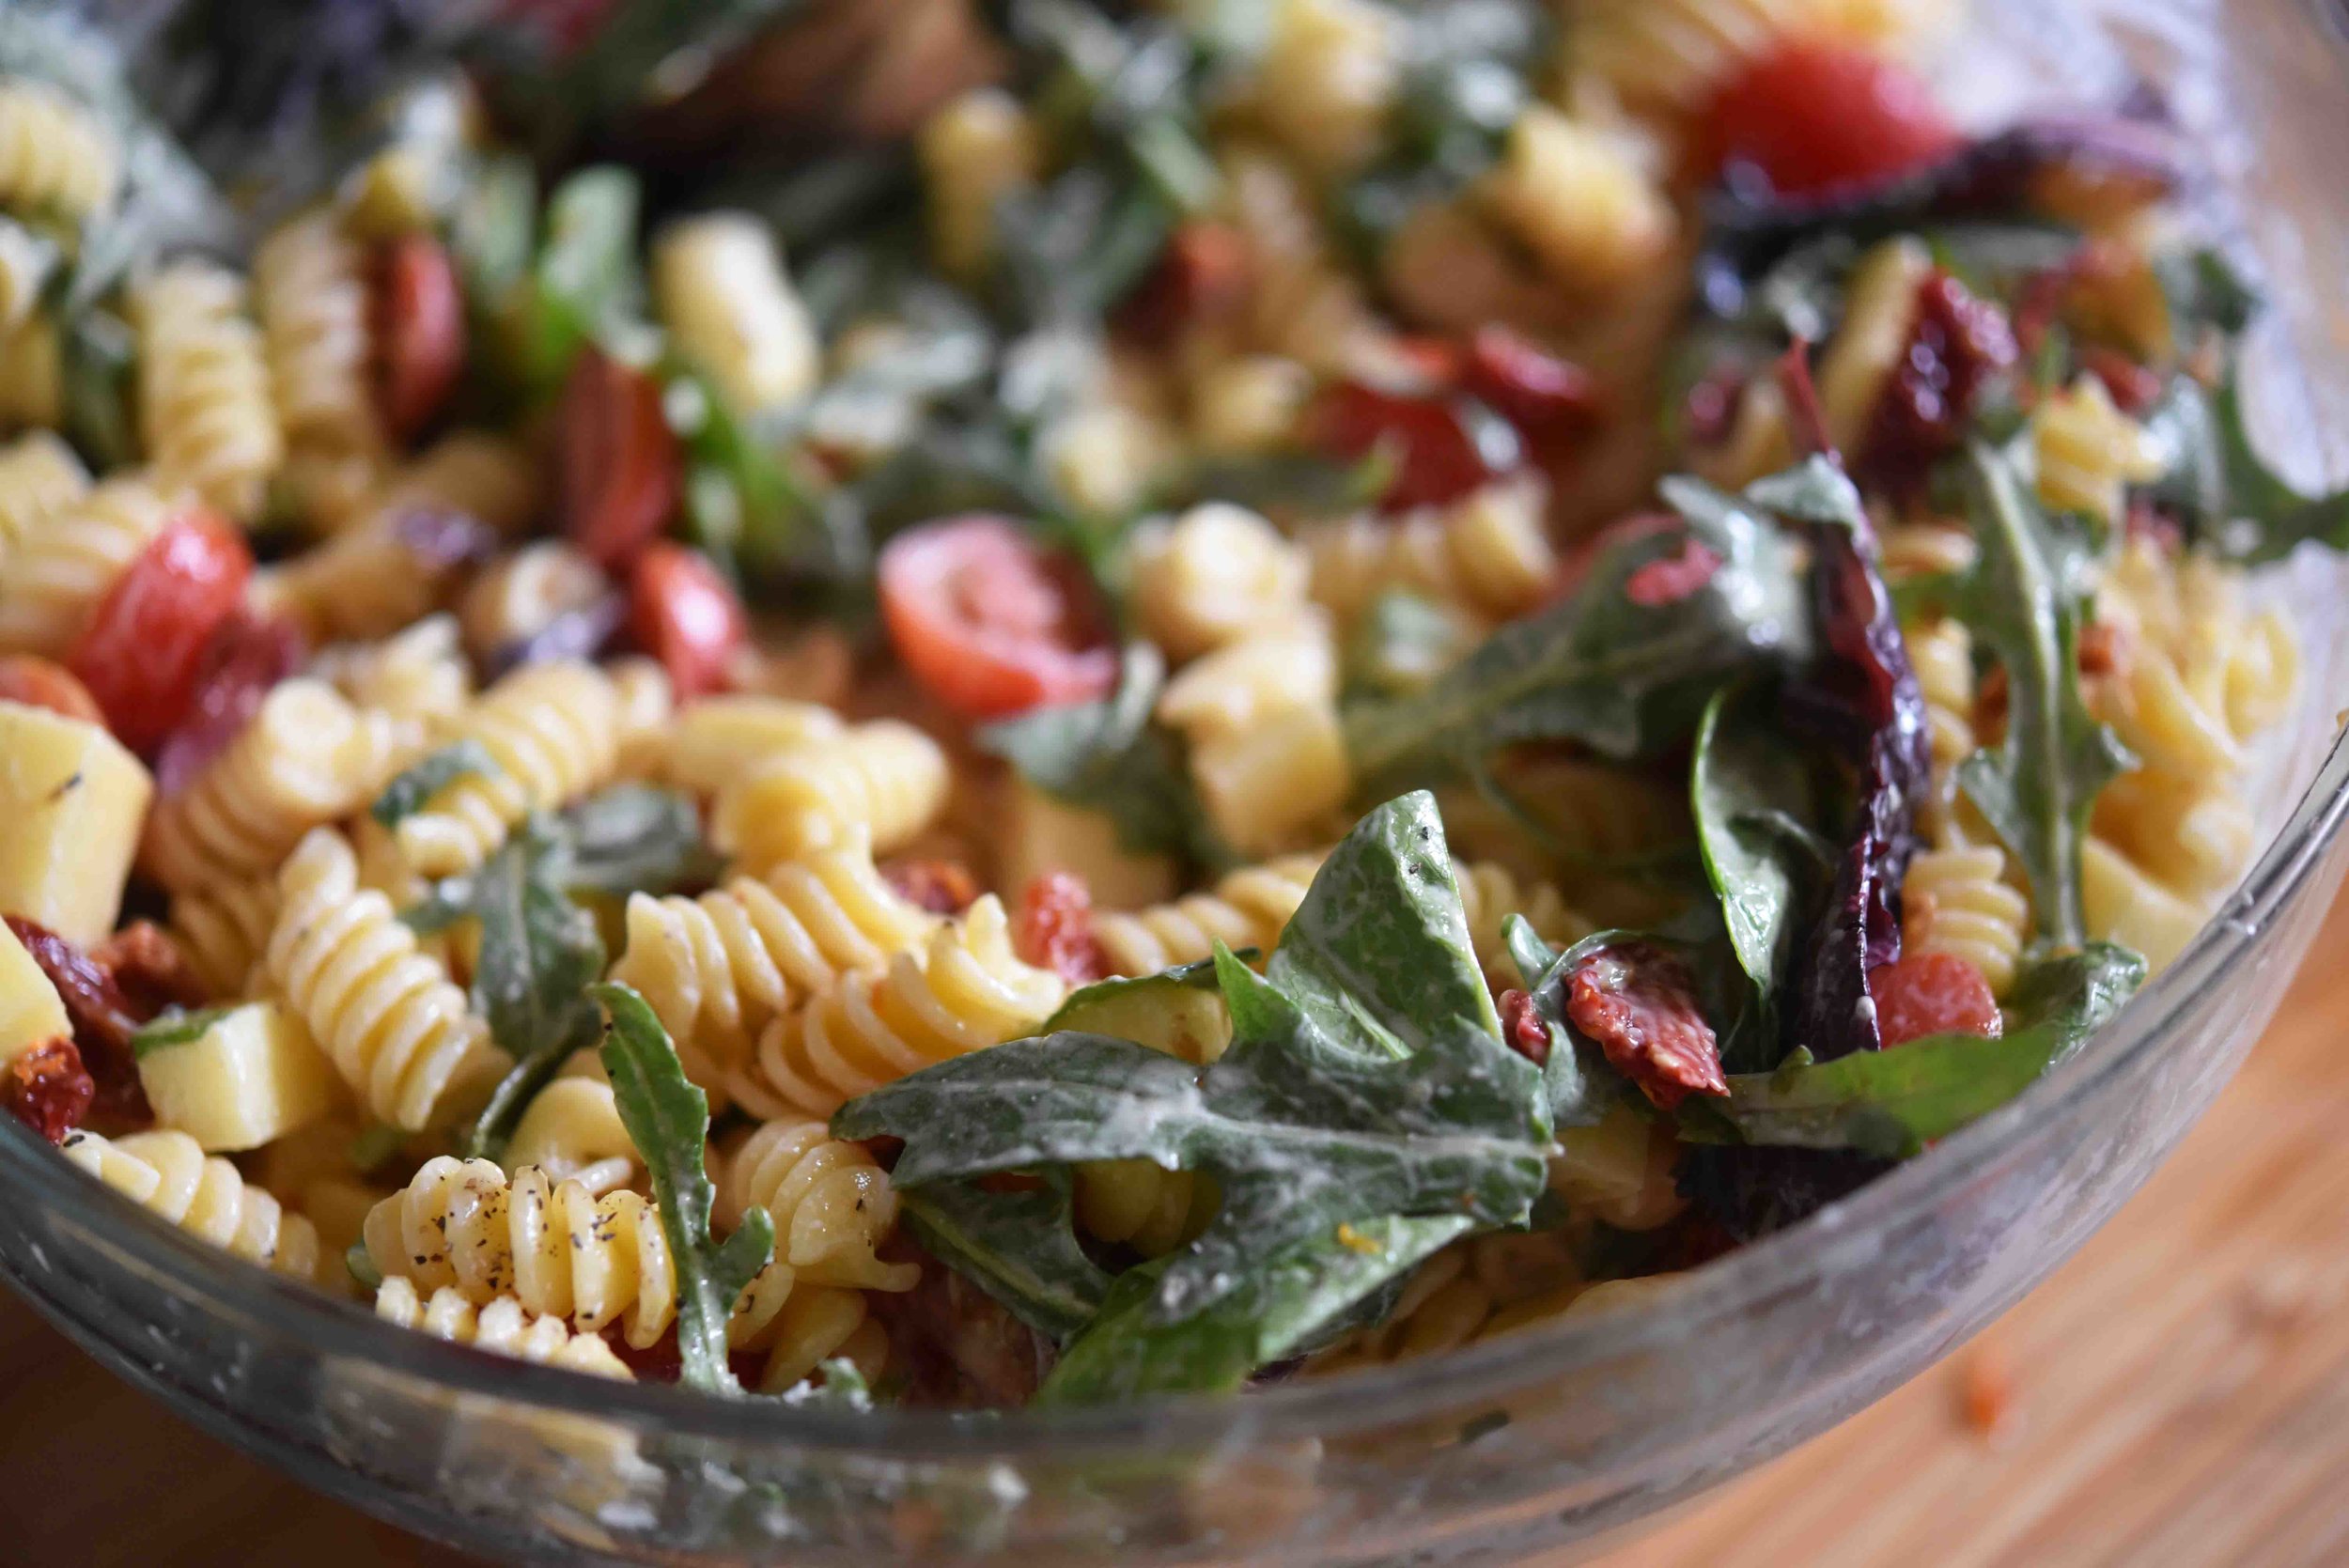
Tomato + Cheddar Lemon Aioli Pasta Salad

With summer finally being thisclose, I’m starting to look for things I can bring to a BBQ or out to the beach—foods that can be served at room temperature, and won't have reduced themselves to some crazy-looking concoctions by the time they’re ready to be served.

Pasta salads are always a good bet, and when you add a homemade lemon aioli (I stole the recipe from my cookbook, Meat On The Side!) and the perfect balance of textures and flavors, you are guaranteed to be the hit of the party!

For the aioli, you just add garlic, mustard, lemon juice, and egg yolk to a blender, then drizzle in some oil.
That’s it!
And the combination of those ingredients, although kind of basic, creates a taste that is out of this world—creamy, tangy, and light!

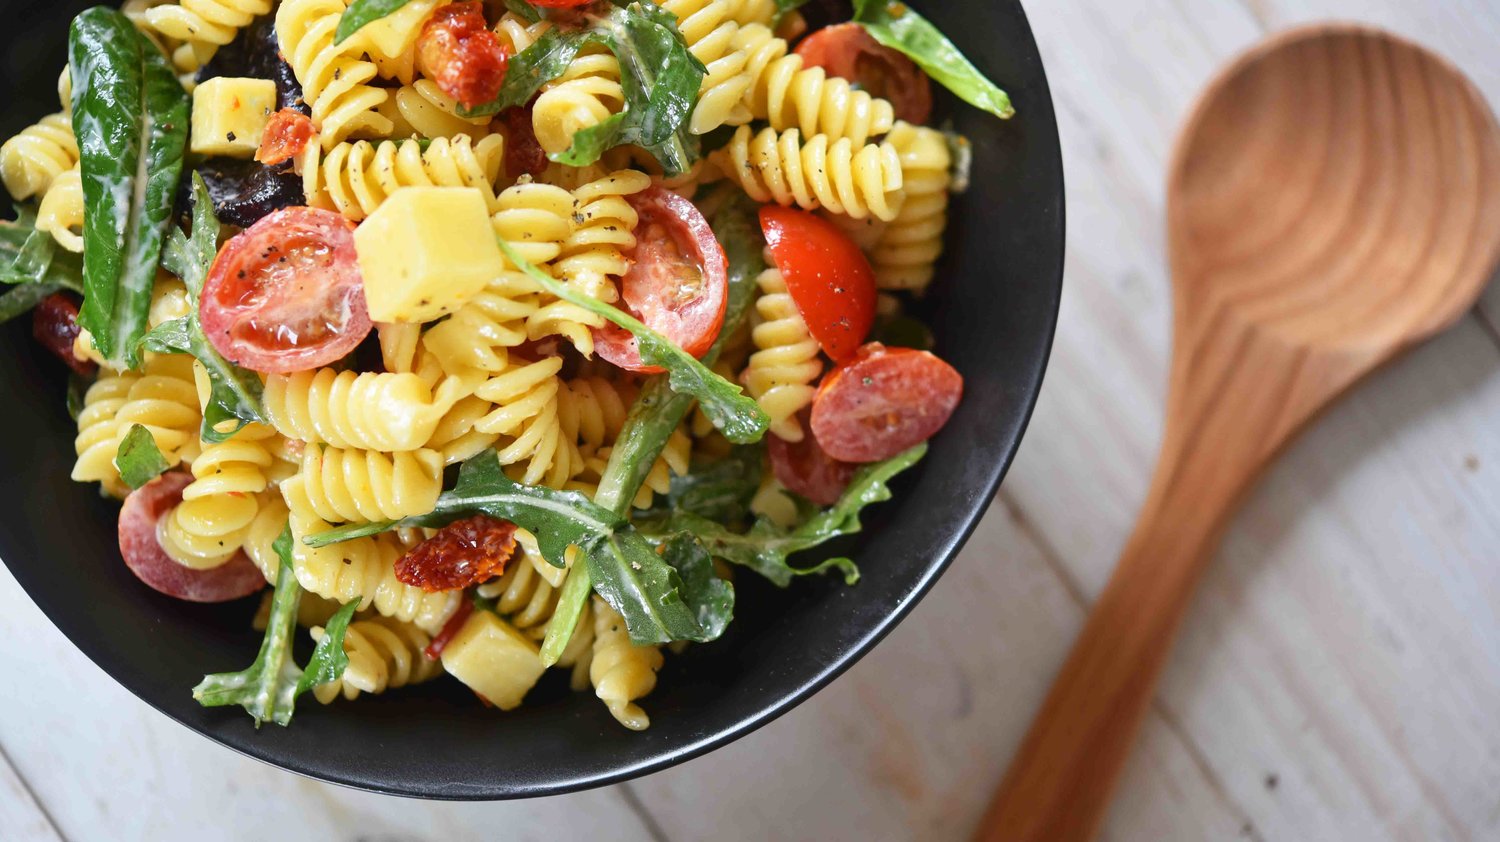
Once you add your all-star aioli to chunks of cheddar, richly-flavored sundried tomatoes, juicy grape tomatoes, and crunchy lettuce, you end up with a simple pasta salad that doesn’t taste so simple.

This incredible dish is about using familiar flavors, but making them the best they can be.
And this is the best pasta salad EVER!
Tomato + Cheddar Lemon Aioli Pasta Salad
servings: 4 to 6

Ingredients:
- 1 large egg yolk
- 1 tablespoon white wine vinegar
- 1 teaspoon Dijon mustard
- Juice of 1 lemon + zest of half of the lemon
- 1 small garlic clove, sliced
- 1½ teaspoon kosher salt
- ¾ cup vegetable oil
- 16 ounces dry rotini pasta
- 1 pint grape tomatoes, halved
- 2 cups packed spring mix lettuce
- ¾ cup coarsely chopped sundried tomatoes
- 8 ounces cubed sharp cheddar cheese (¼-inch cubes)
- ¼ teaspoon ground black pepper
Directions:
- Place a large pot of salted water over high heat for cooking the rotini. Add the egg yolk, vinegar, mustard, lemon juice, lemon zest, garlic, and 1 teaspoon of the salt to a blender and blend on high for about 10 seconds. Then, with the machine still running, slowly add ¼ cup of the oil at a time, until the mixture is thick and smooth. Set aside.
- When the water boils, add the rotini and cook according to the package directions. When done, drain and transfer to a large bowl, allowing the pasta to cool.
- Once the pasta has cooled, to the same bowl, add the tomatoes, spring mix, sundried tomatoes, cheese, remaining ½ teaspoon of salt, and the pepper, then stir to combine. Serve and enjoy!