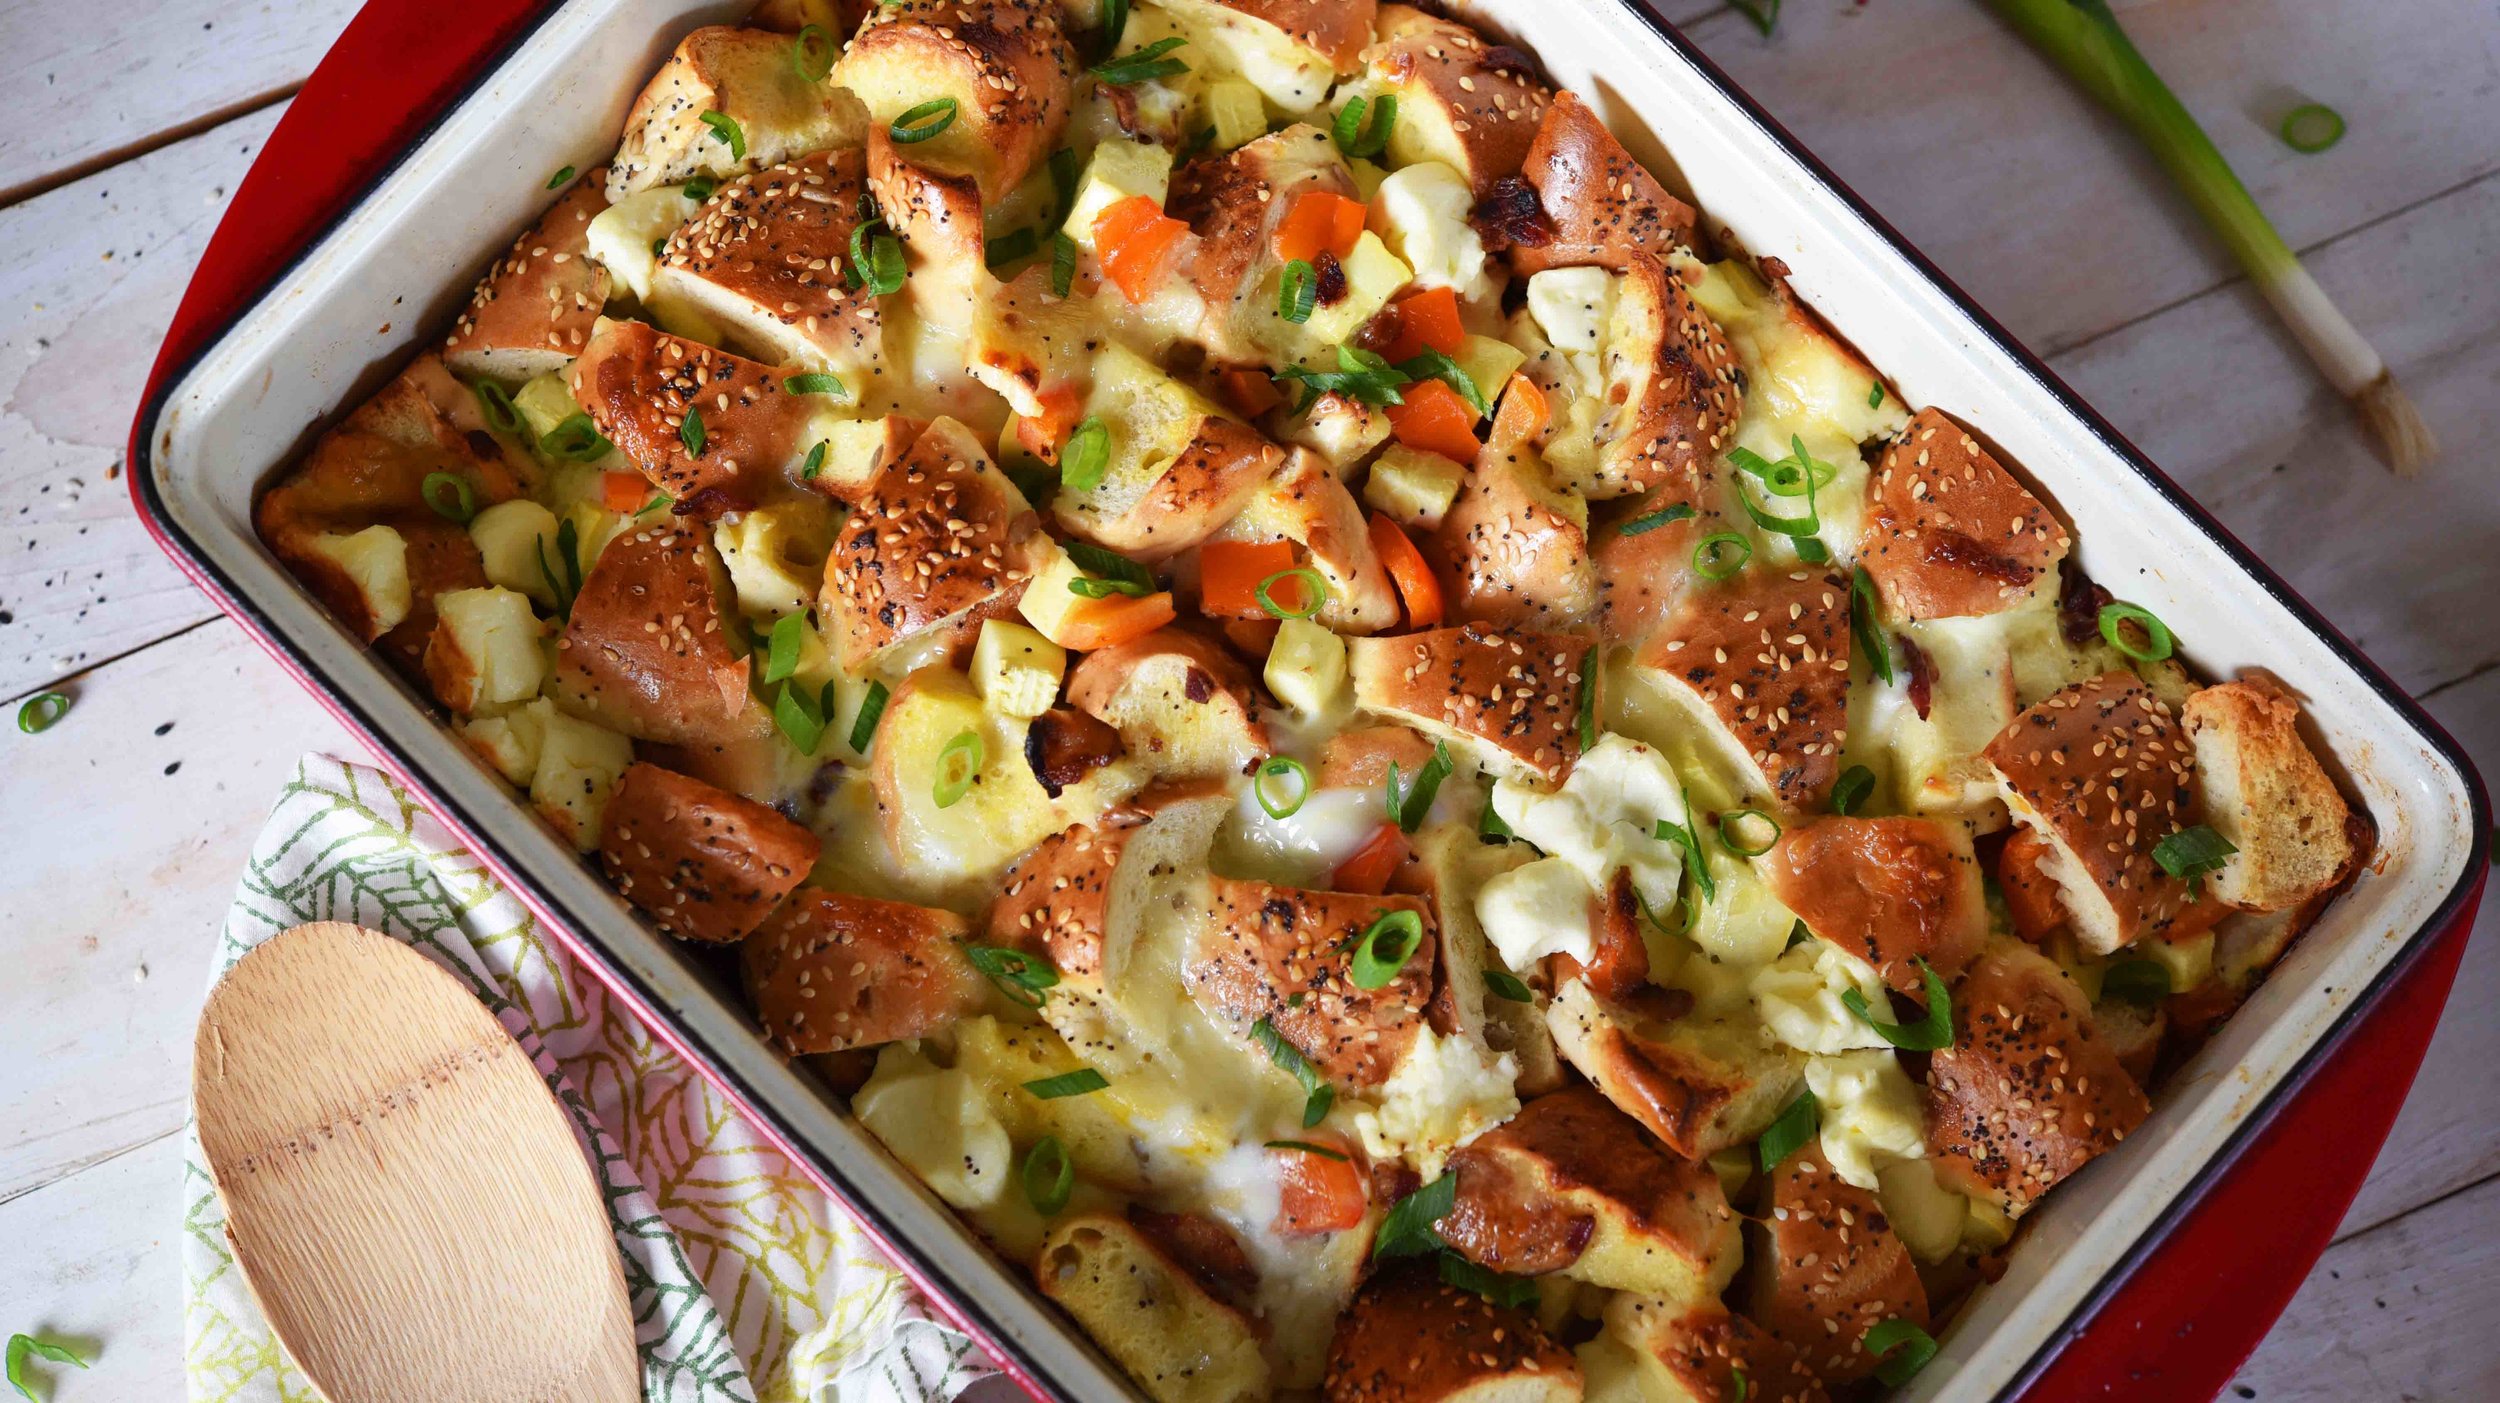
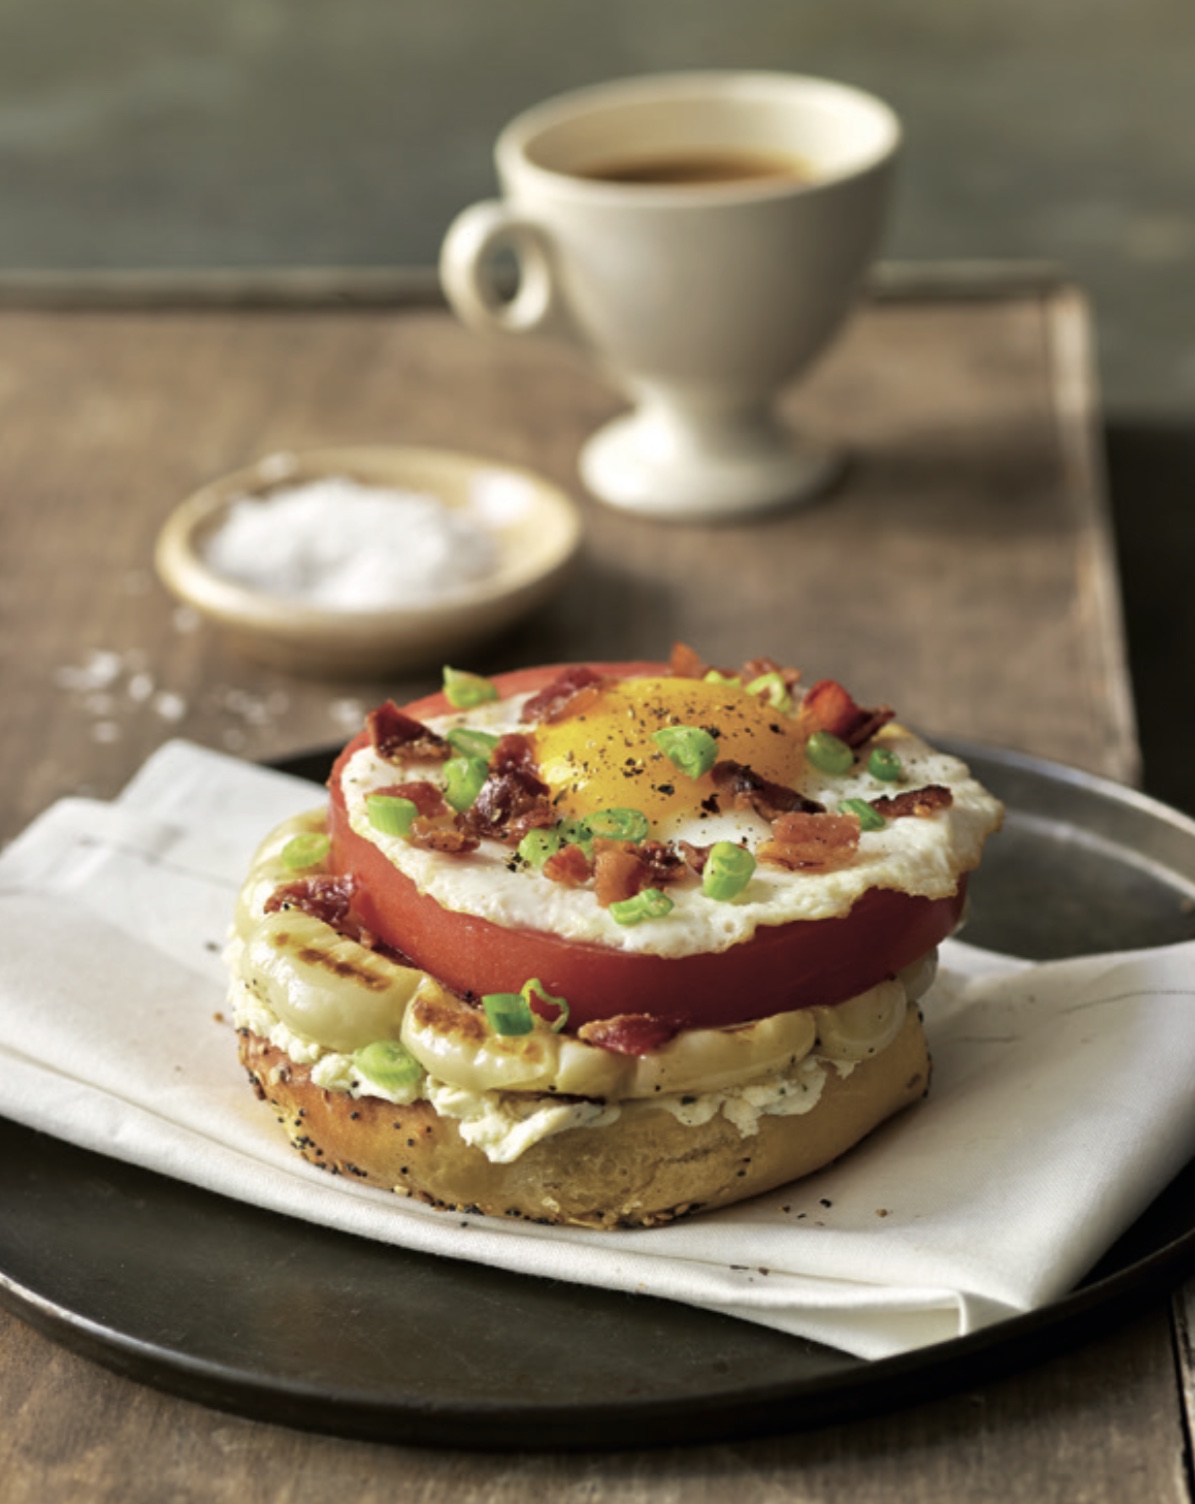
Grilled Pattypan Squash + Egg Bagel Sandwiches
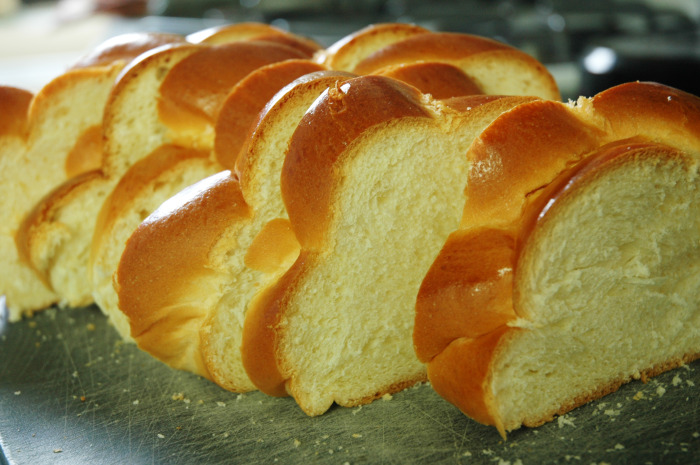
Every morning in New York City, people are enjoying bagel sandwiches. Whether with cream cheese, lox, or bacon and eggs, you really can’t go wrong when layering things on a soft and chewy NYC bagel.
The only thing I found missing from these iconic breakfast staples were—
VEGGIES!
Lo and behold, just as I had that thought, I found a perfect, bagel-size, pattypan squash giving me the eye at the farmers’ market, and I knew it was meant to be married to a bagel.
If you think squash for breakfast is weird, just wait until you bite through the sweet, tender-crisp slices sitting on a throne of cheese and topped with eggs and bacon.
It’s going to be your new breakfast staple!
Grilled Pattypan Squash + Egg Bagel Sandwiches
makes: 2 open-face sandwiches; double the recipe as you wish


Ingredients:
- 1 pattypan squash
- 1 bacon strip
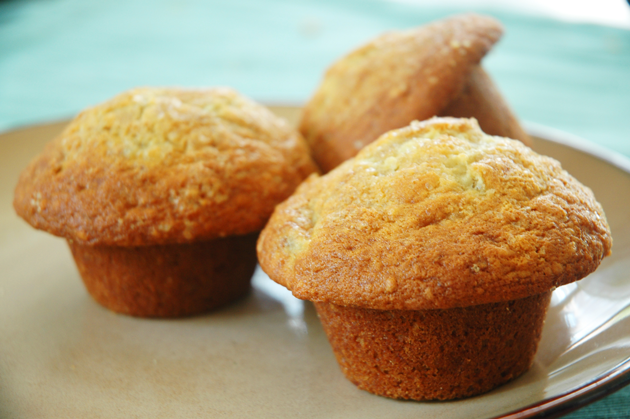
- 1 everything bagel
- 4 tablespoons Boursin cheese
- ¼ teaspoon kosher salt
- ⅛ teaspoon ground black pepper
- 1 teaspoon olive oil, more if needed
- 2 large eggs
- Two ¼-inch-thick slices large tomato (same diameter as the bagel)
- 2 tablespoons finely chopped scallions
Directions:
- Trim and discard the root and vine ends of the squash. Cut two ½-inch-thick slices crosswise from the middle section (save any scraps for another use).
- Heat a small nonstick skillet (but big enough to fry 2 eggs) over medium heat. Add the bacon and cook until crisp—6 to 7 minutes, turning once. Transfer the bacon to a paper towel to drain; set aside the skillet with the rendered bacon fat.
- Meanwhile, cut the bagel in half. Spread 2 tablespoons of the cheese onto the cut side of each half and set aside.
- Heat a grill pan over medium-high heat. Sprinkle the squash slices on both sides with the salt and pepper and drizzle with the 1 teaspoon oil, dividing equally. Add the squash slices to the pan and cook, turning once, until grill marks form and the squash is tender—5 to 8 minutes.
- While squash cooks, heat the skillet that you cooked the bacon in over medium-low heat. If there is not enough fat in the skillet to fry the eggs, add a bit of oil. Crack the eggs into the skillet and cook to the desired doneness.
- To assemble each sandwich, place a squash slice on top of a cheese-spread bagel half. Top it with a tomato slice and then an egg. Crumble up the bacon and scatter half on top of each sandwich, along with half the scallions. Yum!
Keep It Simple:
- Pattypan squash has a very similar taste and texture to zucchini and yellow squash, so feel free to substitute slices of those when pattypan squash is not in season.
- Boursin is a fabulous soft cheese made with garlic and herbs; it tastes like whipped cream cheese—which you can use instead. Regular or flavored cream cheeses all work.
- I like to use my grill pan for this recipe as it adds a little bit of a charred flavor, but a regular skillet works just as well. This is true for most of my recipes that call for a grill pan.
50/50:
- The bacon gives a nice salty flavor to the egg, so if you prefer a vegetarian version, simply leave off the bacon and add a sprinkle of salt on top of your eggs. And if you are doing one sandwich with bacon and one without, be sure to cook the second egg in a different pan. You’ll have one more pan to clean but you’ll also have a happy vegetarian.
Family Friendly:
- The squash has such a delicate flavor that it really pairs well with the bacon and eggs. In truth, it adds more texture and bite than it adds flavor. But if your kids are not going to dig a large piece of squash on their sandwich, cut up the squash, and blend it into the cheese or scramble the eggs and fold it into them. It will be the same sandwich but with a kid-friendly twist.