Cauliflower Alfredo Sauce with Pasta

When I create a recipe, I’m always thinking about what different versions of a dish I can suggest to different groups of people.
For instance, sometimes I think about how to make my vegetarian recipes “meaty.”
Or I might toss out some ideas about how to make a dish more family-friendly (something adults can enjoy that kids will also eat!).
I love when—with just a few tweaks—you can make a couple of versions of a meal at the same time, so everyone is satisfied.

And it’s always a bonus if we get our kids to eat their veggies!
This Cauliflower Alfredo Sauce is one of the most melt-in-your-mouth pasta sauces I’ve ever made.
And I honestly can’t tell the difference between this version and the full-on-million-calorie version.

Actually, I can tell the difference, oh-so-slightly. And I’m not lying when I say I like this one better.
It’s garlicky, cheesy, and creamy—as you would expect.
But the cauliflower adds a whole new element that deepens the flavor and literally makes you want to eat the sauce with a spoon (nooooo, I’ve never done that 😉).

And by dividing the sauce in two and adding parsley and pepper to one half and peas to the other, you’ve got a dish that makes both parents and kids happy.

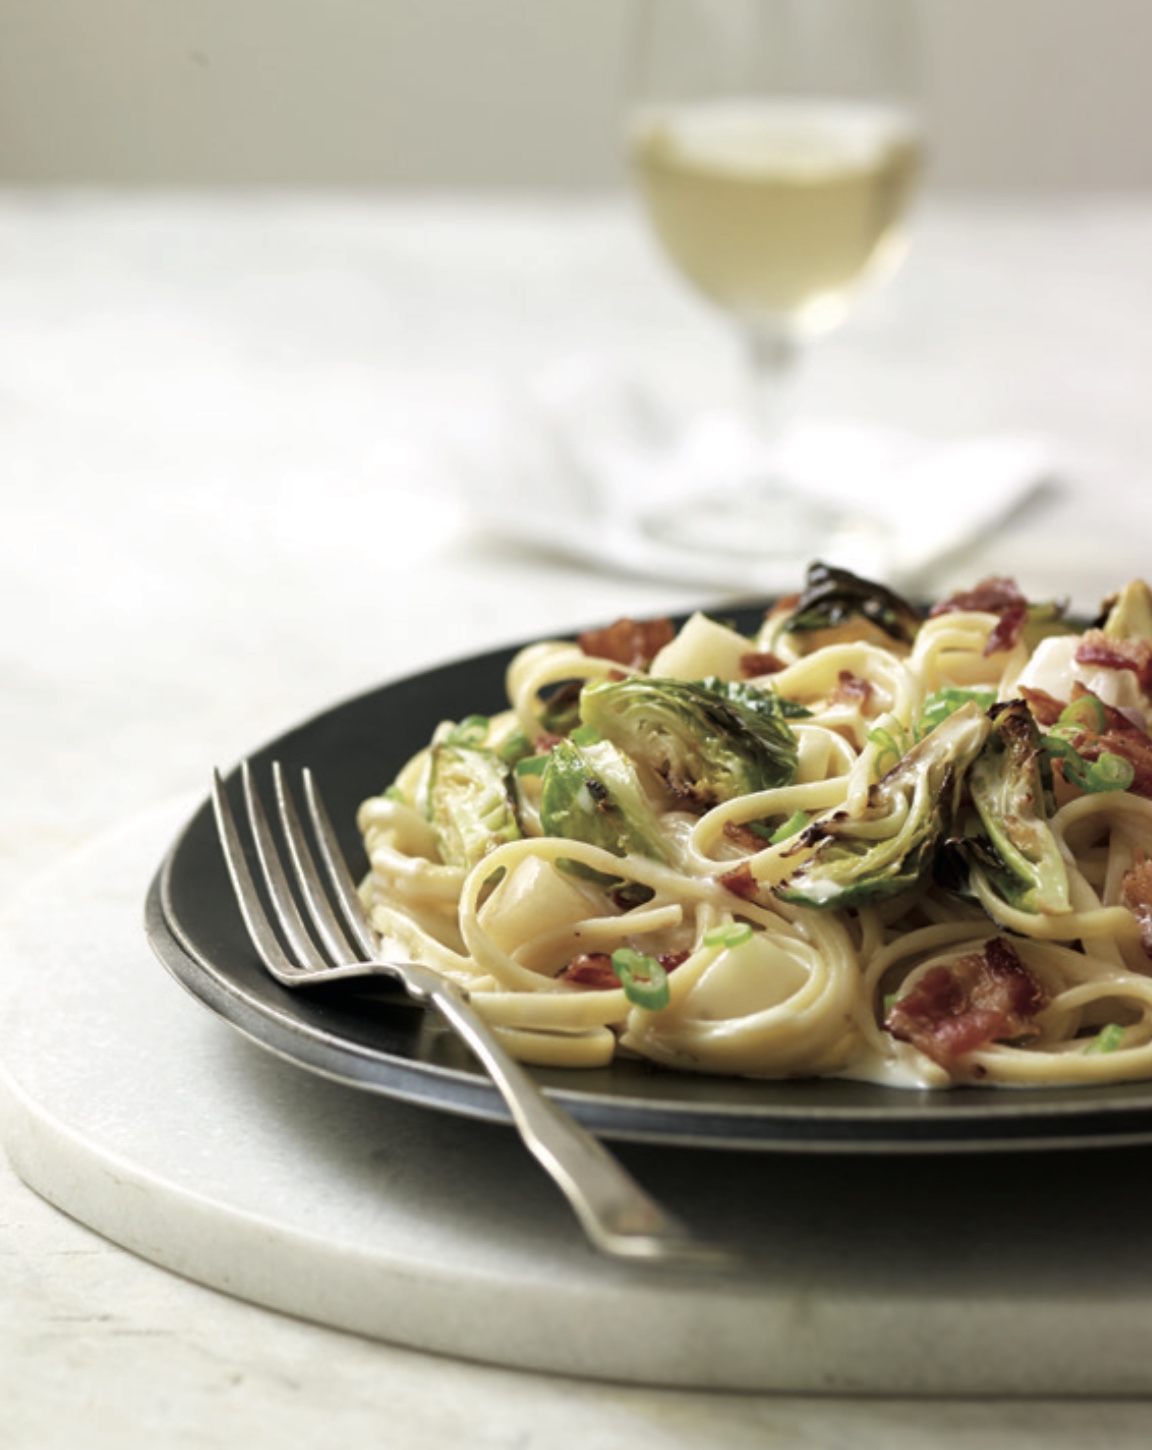
Grownup version: linguine, parsley + freshly ground black pepper.
Cauliflower Alfredo Sauce with Pasta
servings: 4


Ingredients:
- 1 large head cauliflower, broken or cut into bite-size florets (about 5 to 6 cups)
- 3 cups chicken stock
- 3 garlic cloves, smashed
- 4 ounces cream cheese
- 2 ounces parmesan cheese (about ½ cup)
- ½ cup heavy cream
- 1½ teaspoons kosher salt
- ½ teaspoon ground black pepper
- 1 pound pasta shells
- 1 cup frozen peas, thawed
Directions:
- Place a large pot of salted water over high heat for cooking the pasta shells. To a second large pot, add the cauliflower, chicken stock, and garlic. Bring this mixture to a simmer, then lower the heat to medium and cook until the cauliflower is very soft—10 to 12 minutes.
- Transfer the mixture to a blender and add the cream cheese, parmesan cheese, heavy cream, salt, and pepper, and puree until very smooth.
- When the water boils, add the pasta shells and cook according to the package directions; drain when done.
- To serve, fold the cauliflower sauce and the peas into the pasta.
Notes:
- The kid’s version is delicious! But if you want to make it a little more adult, replace the pasta shells with linguine. And instead of folding peas in with the cauliflower sauce, fold in about 2 tablespoons of the parsley. Divide among four bowls and top with parsley and freshly ground black pepper. Voilà!