Silent Recipe!: Veggie Burgers
Burger Time—VEGGIE Burger Time!
I may not be Bobby Flay, but hey, that’s okay, because I’ve got THE secret to making the perfect veggie burgers…

It's been my goal for awhile now to make a bang-up version of a veggie burger.

But every time I really thought about it, I was super intimidated.
I mean, all of those weird ingredients, lots of chopping, and then the fear that after the first bite, the whole thing might just fall apart.

So instead of tackling this daunting task head-on, I've avoided it like the plague.
I just told myself that someday I'd make a better—no, a perfect—veggie burger.
More perfect than any other one out there.
And so when the time came for me to face my fear, I came up with something that makes me wonder what I was so afraid of in the first place.
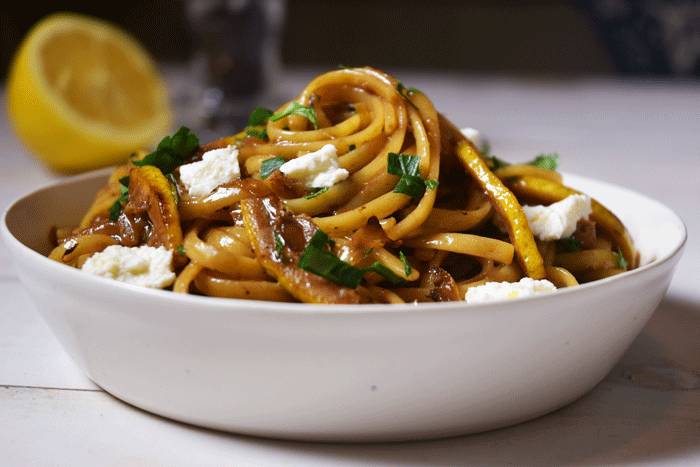
My Ultimate Veggie Burgers have no weird ingredients, are super dense (for that BIG bite experience!), and look better than some of the best beef patties you've ever laid eyes on!

And my big secret?! Well, watch the Silent Recipe video, and you’ll see…
This Veggie Burger is a game changer.
Ultimate Veggie Burgers
servings: 4 large or 6 small patties


Ingredients:
- One 15-ounce can brown lentils, rinsed + drained (1½ cup cooked lentils)
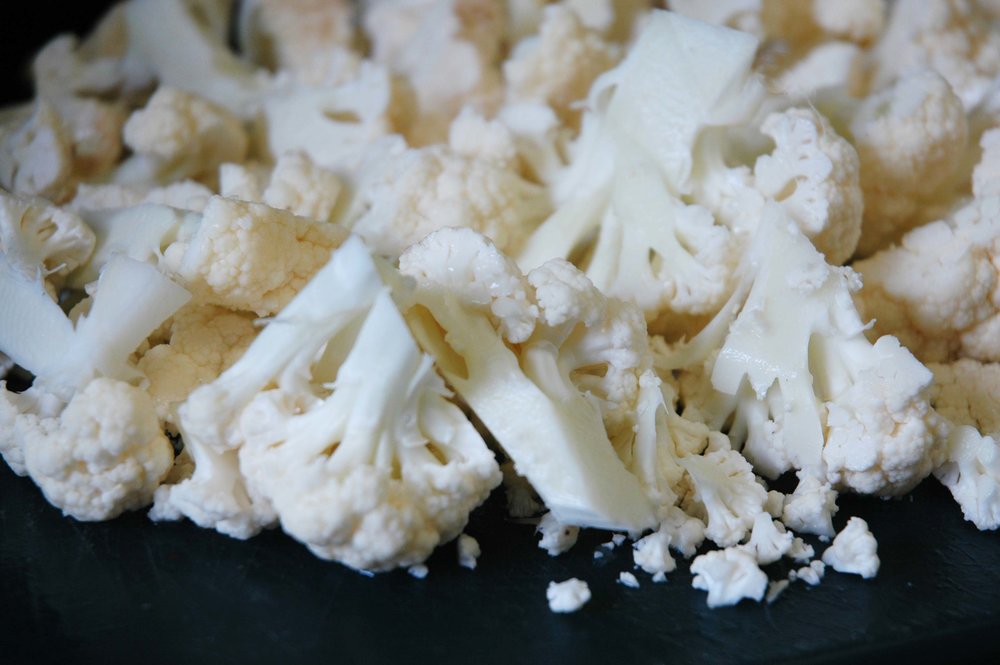
- 8 ounces baby bella mushrooms, sliced (about 3 cups)
- 1½ cups cooked brown rice
- ½ cup walnuts halves + pieces
- ¼ cup all-purpose flour
- 2 tablespoons barbeque sauce
- 1 large egg
- 1¼ teaspoon kosher salt
- 1 teaspoon garlic powder
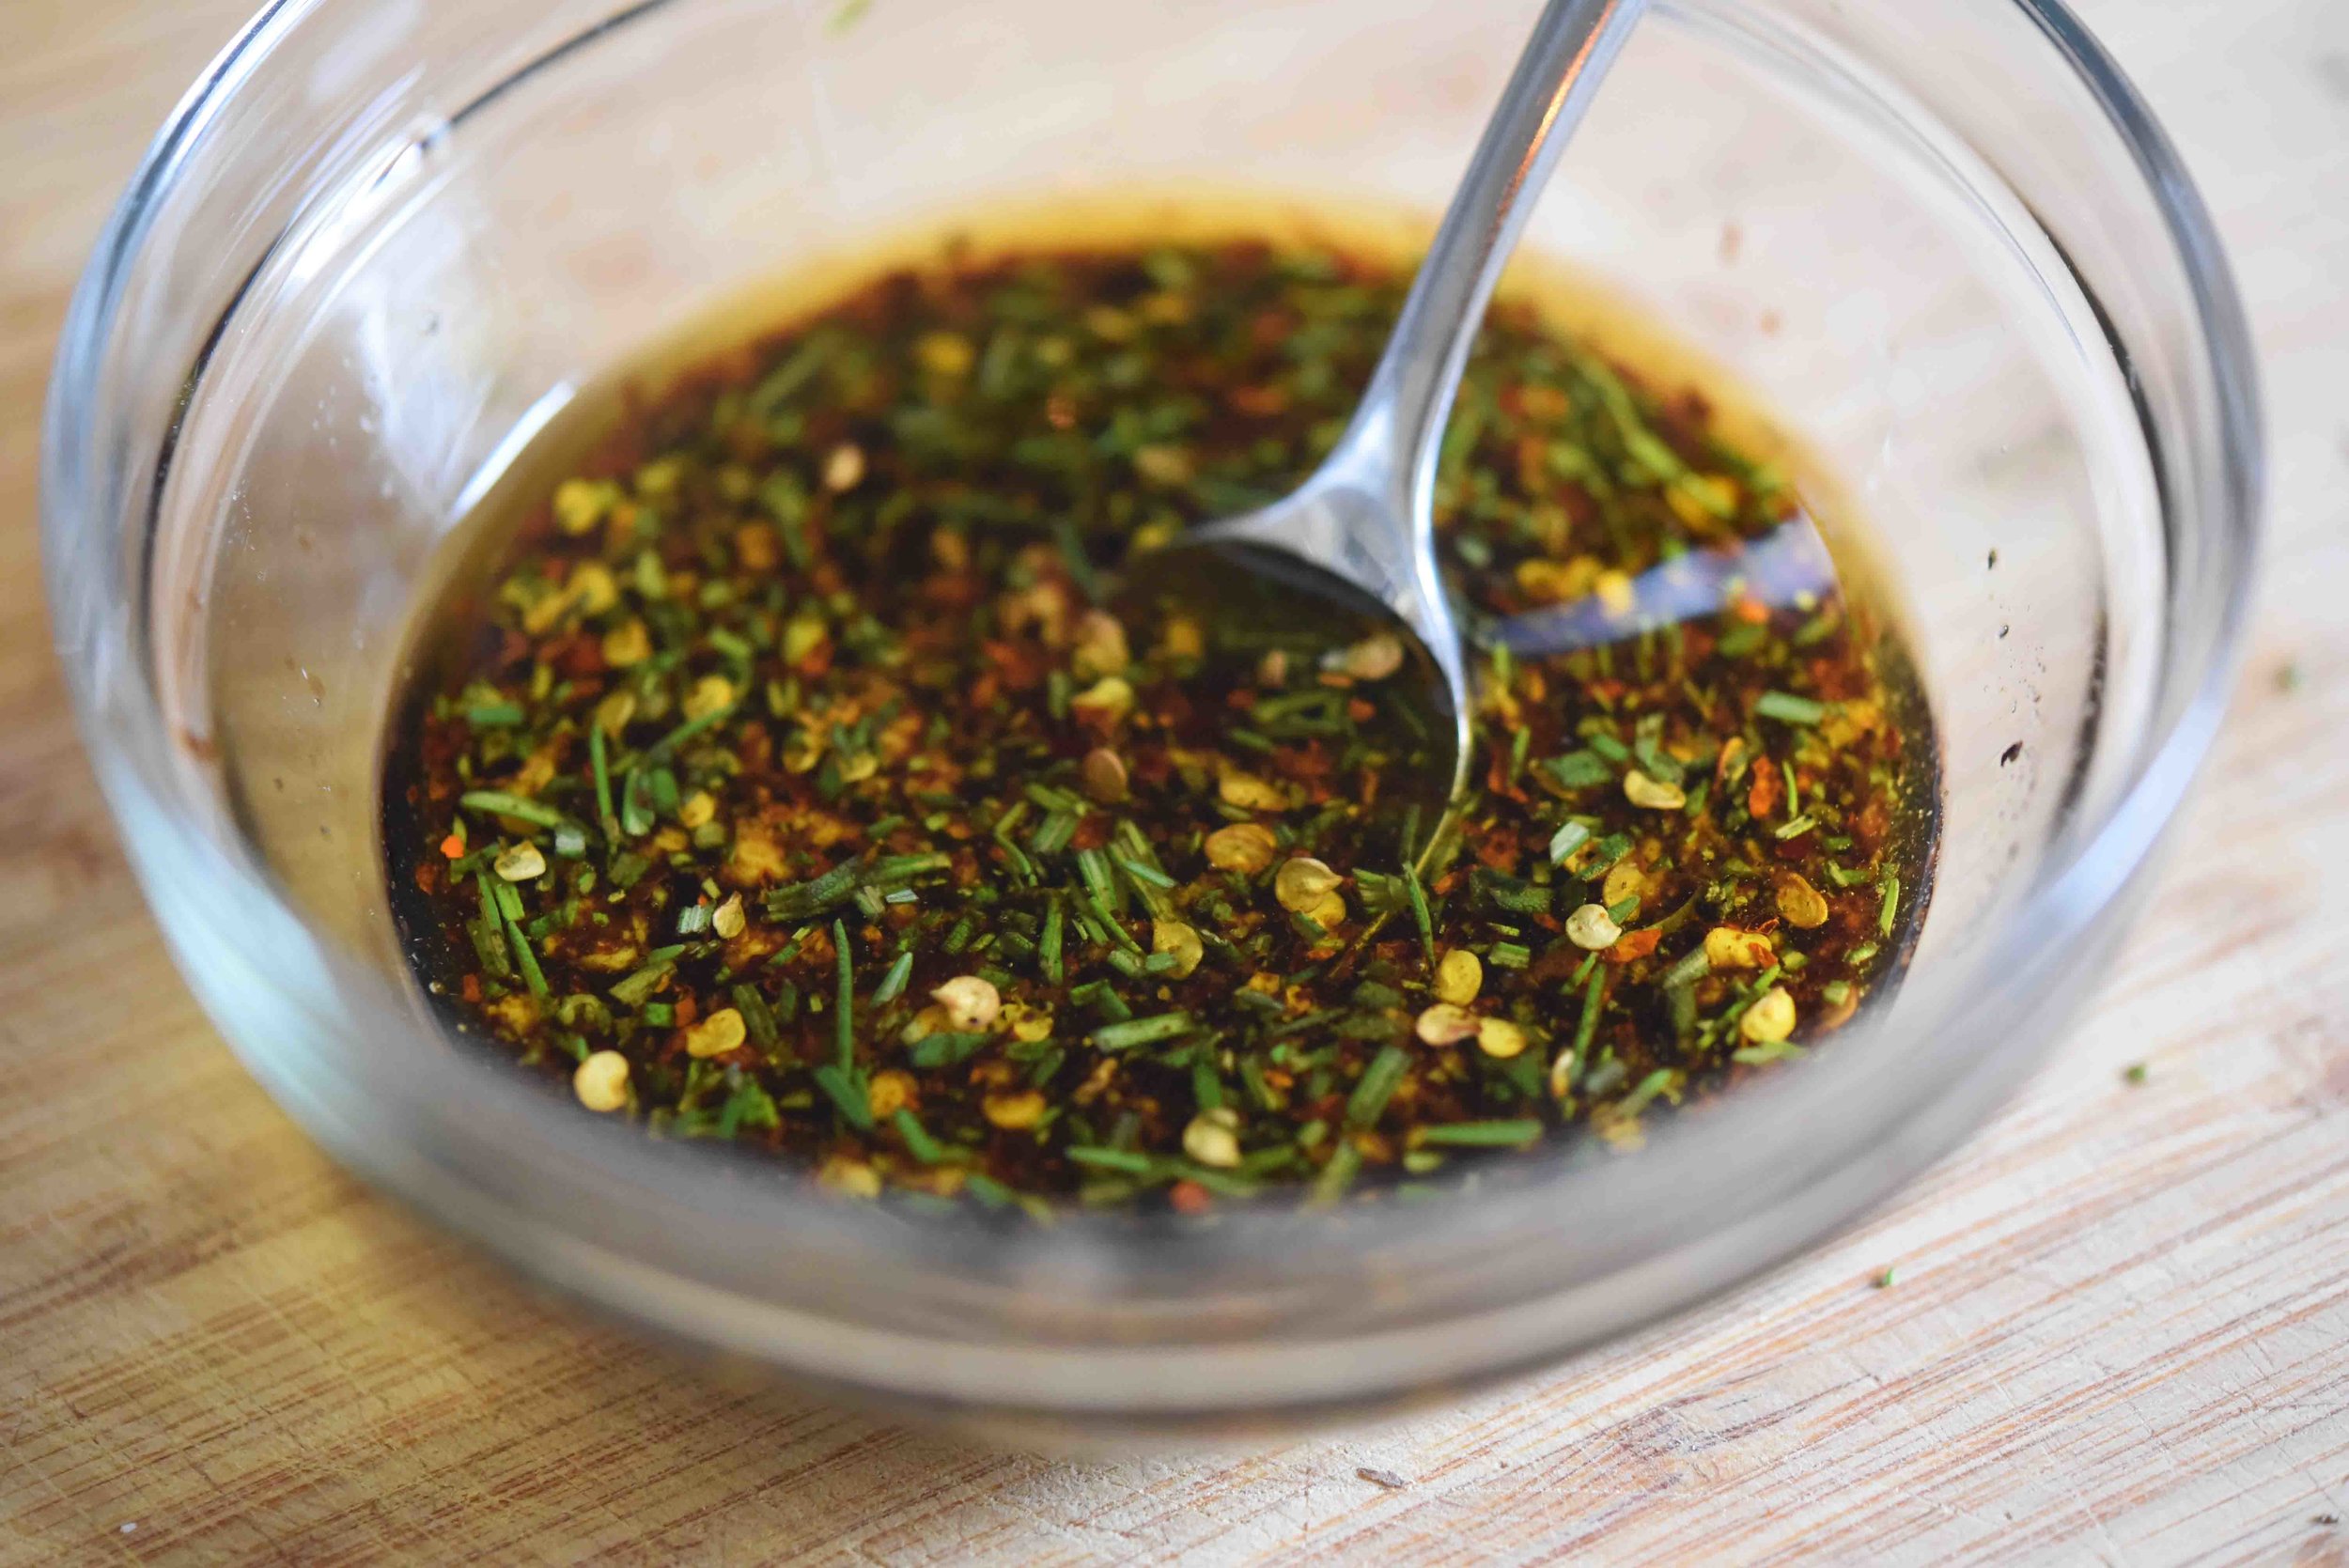
- 1 teaspoon finely chopped fresh rosemary leaves
- ¼ teaspoon smoked paprika
- 1 tablespoon olive oil
Directions:
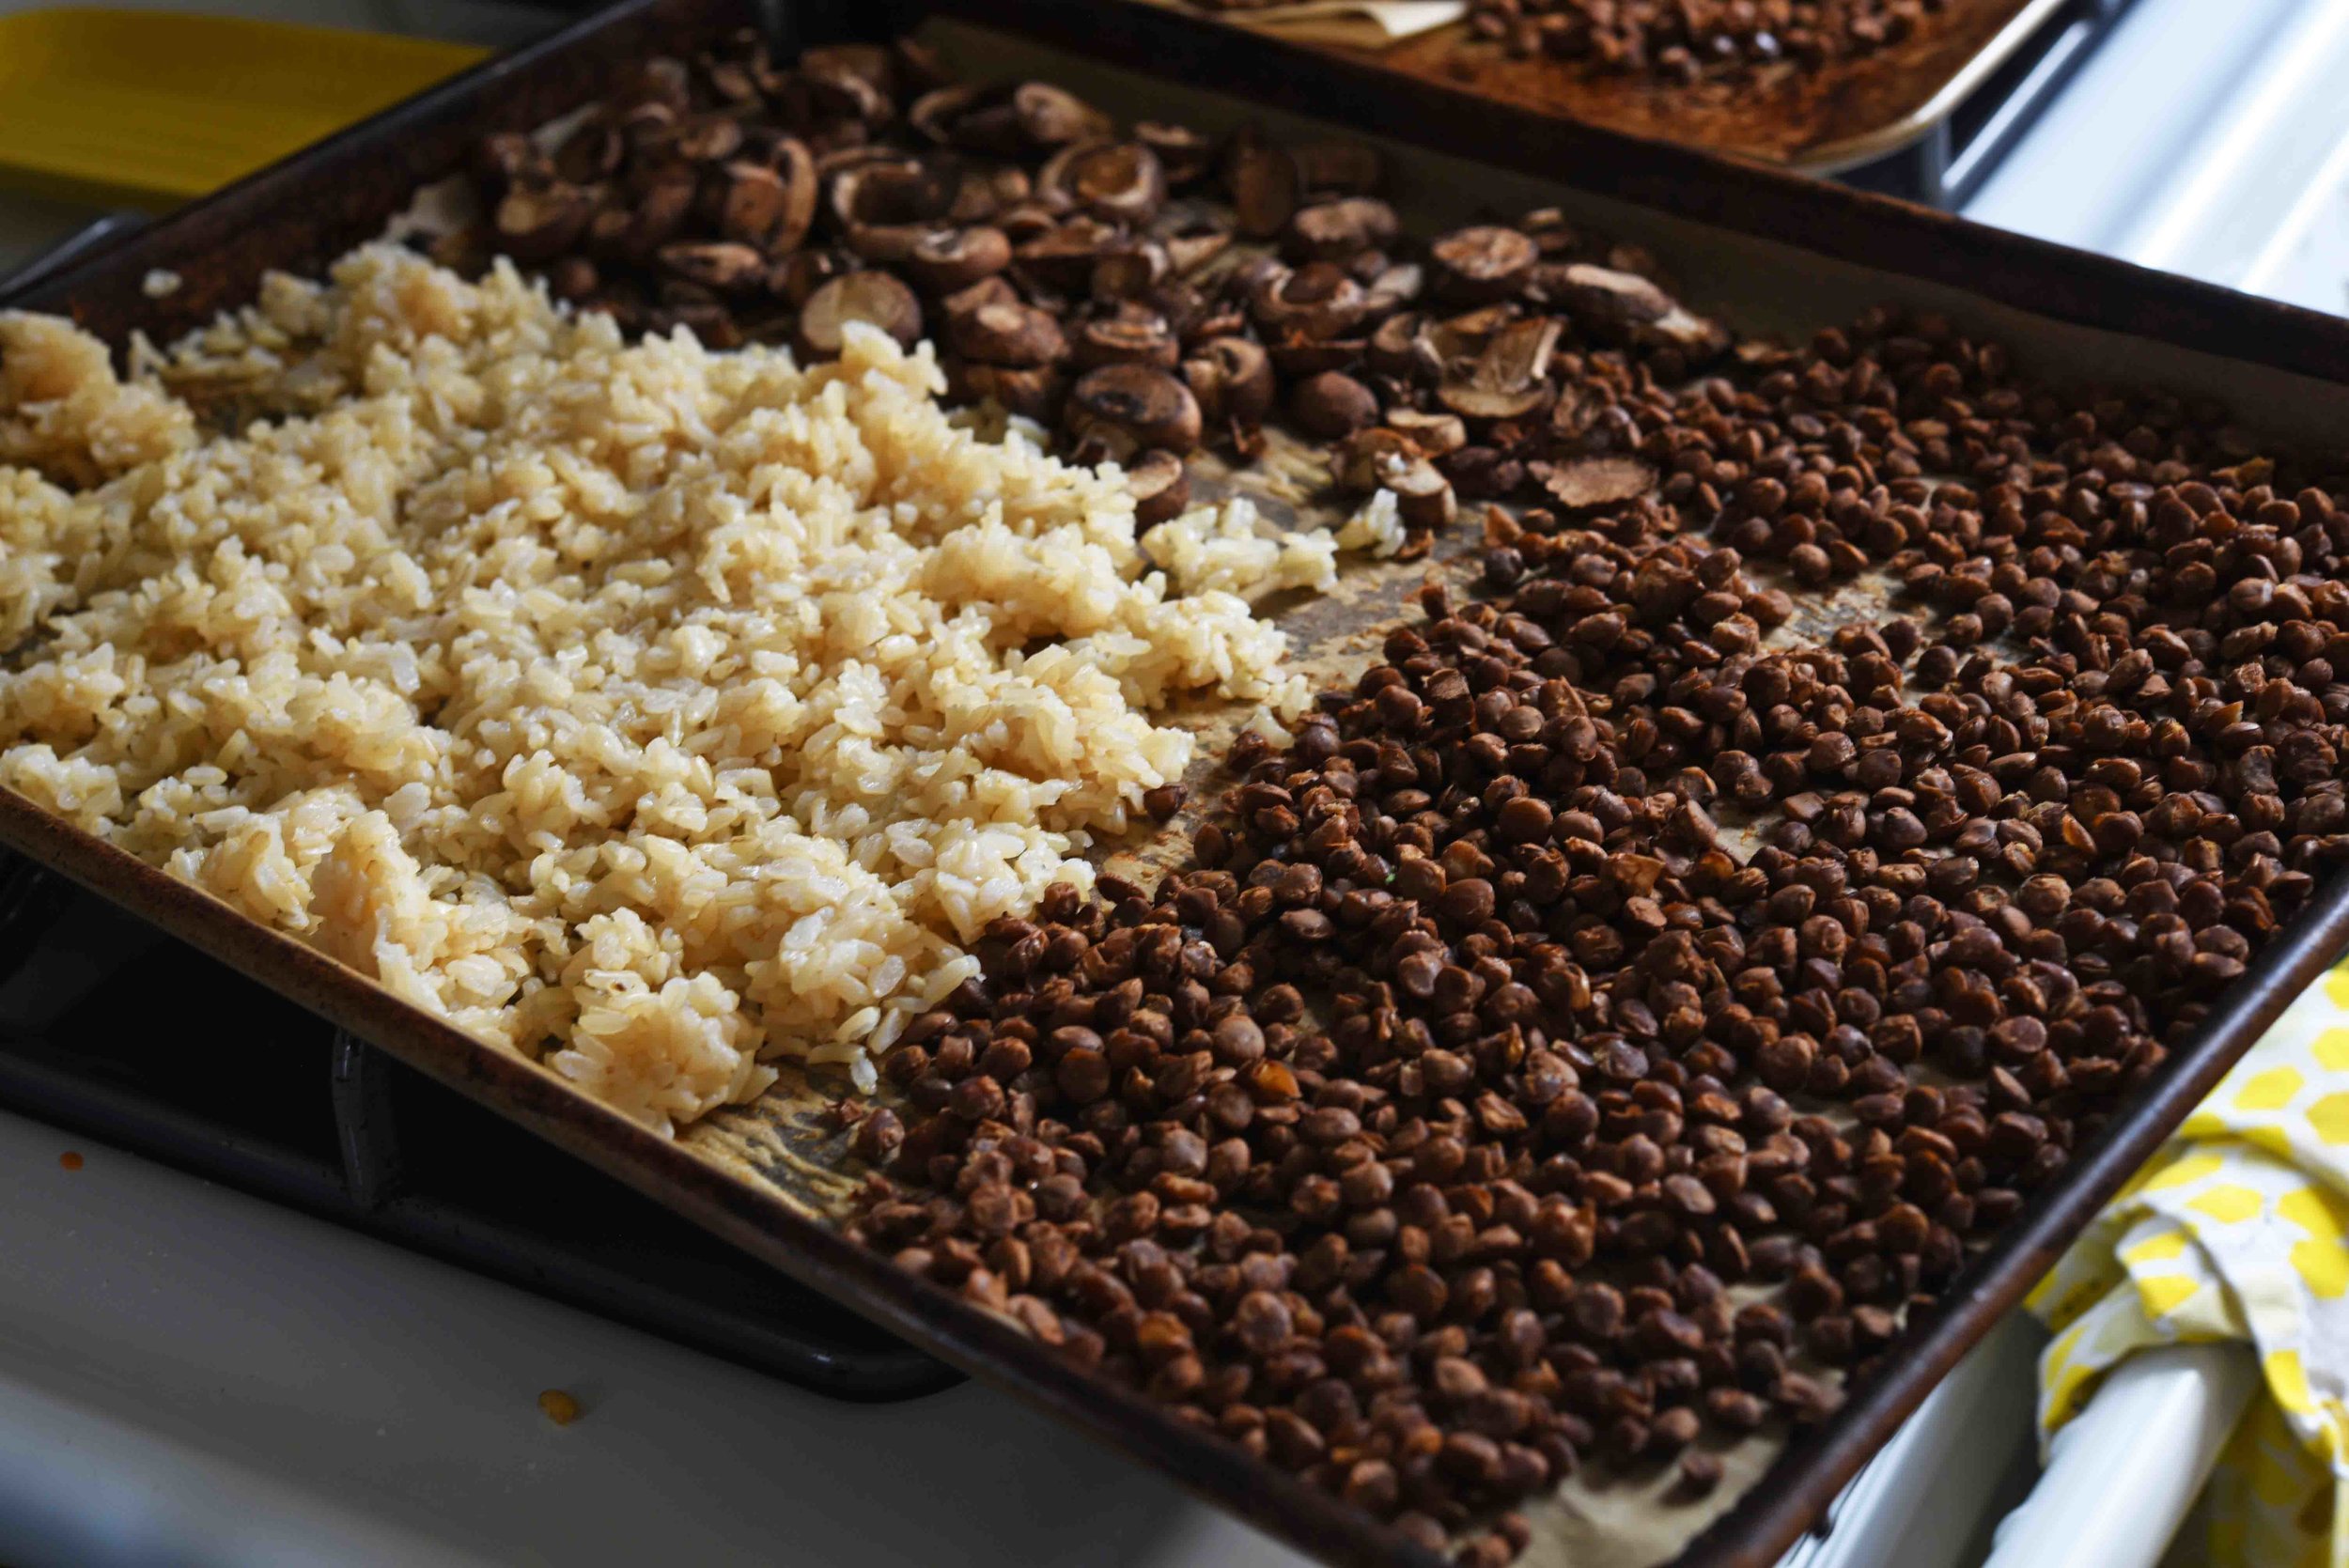
- Preheat the oven to 400°F. Spread the lentils and mushrooms on a parchment-lined or lightly sprayed baking sheet and roast them until the lentils are dry and crisp on the outside and the mushrooms are dry and shrunken to half their original size—25 minutes.
- Use a wooden spoon to move the mushrooms to the side, then spread the cooked rice in the open space. Return the pan to the oven and cook until the rice is lightly toasted in places and the lentils are very dry—15 minutes.
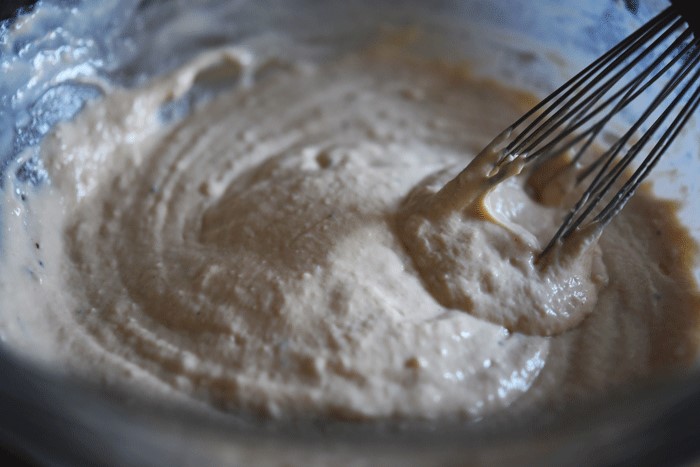
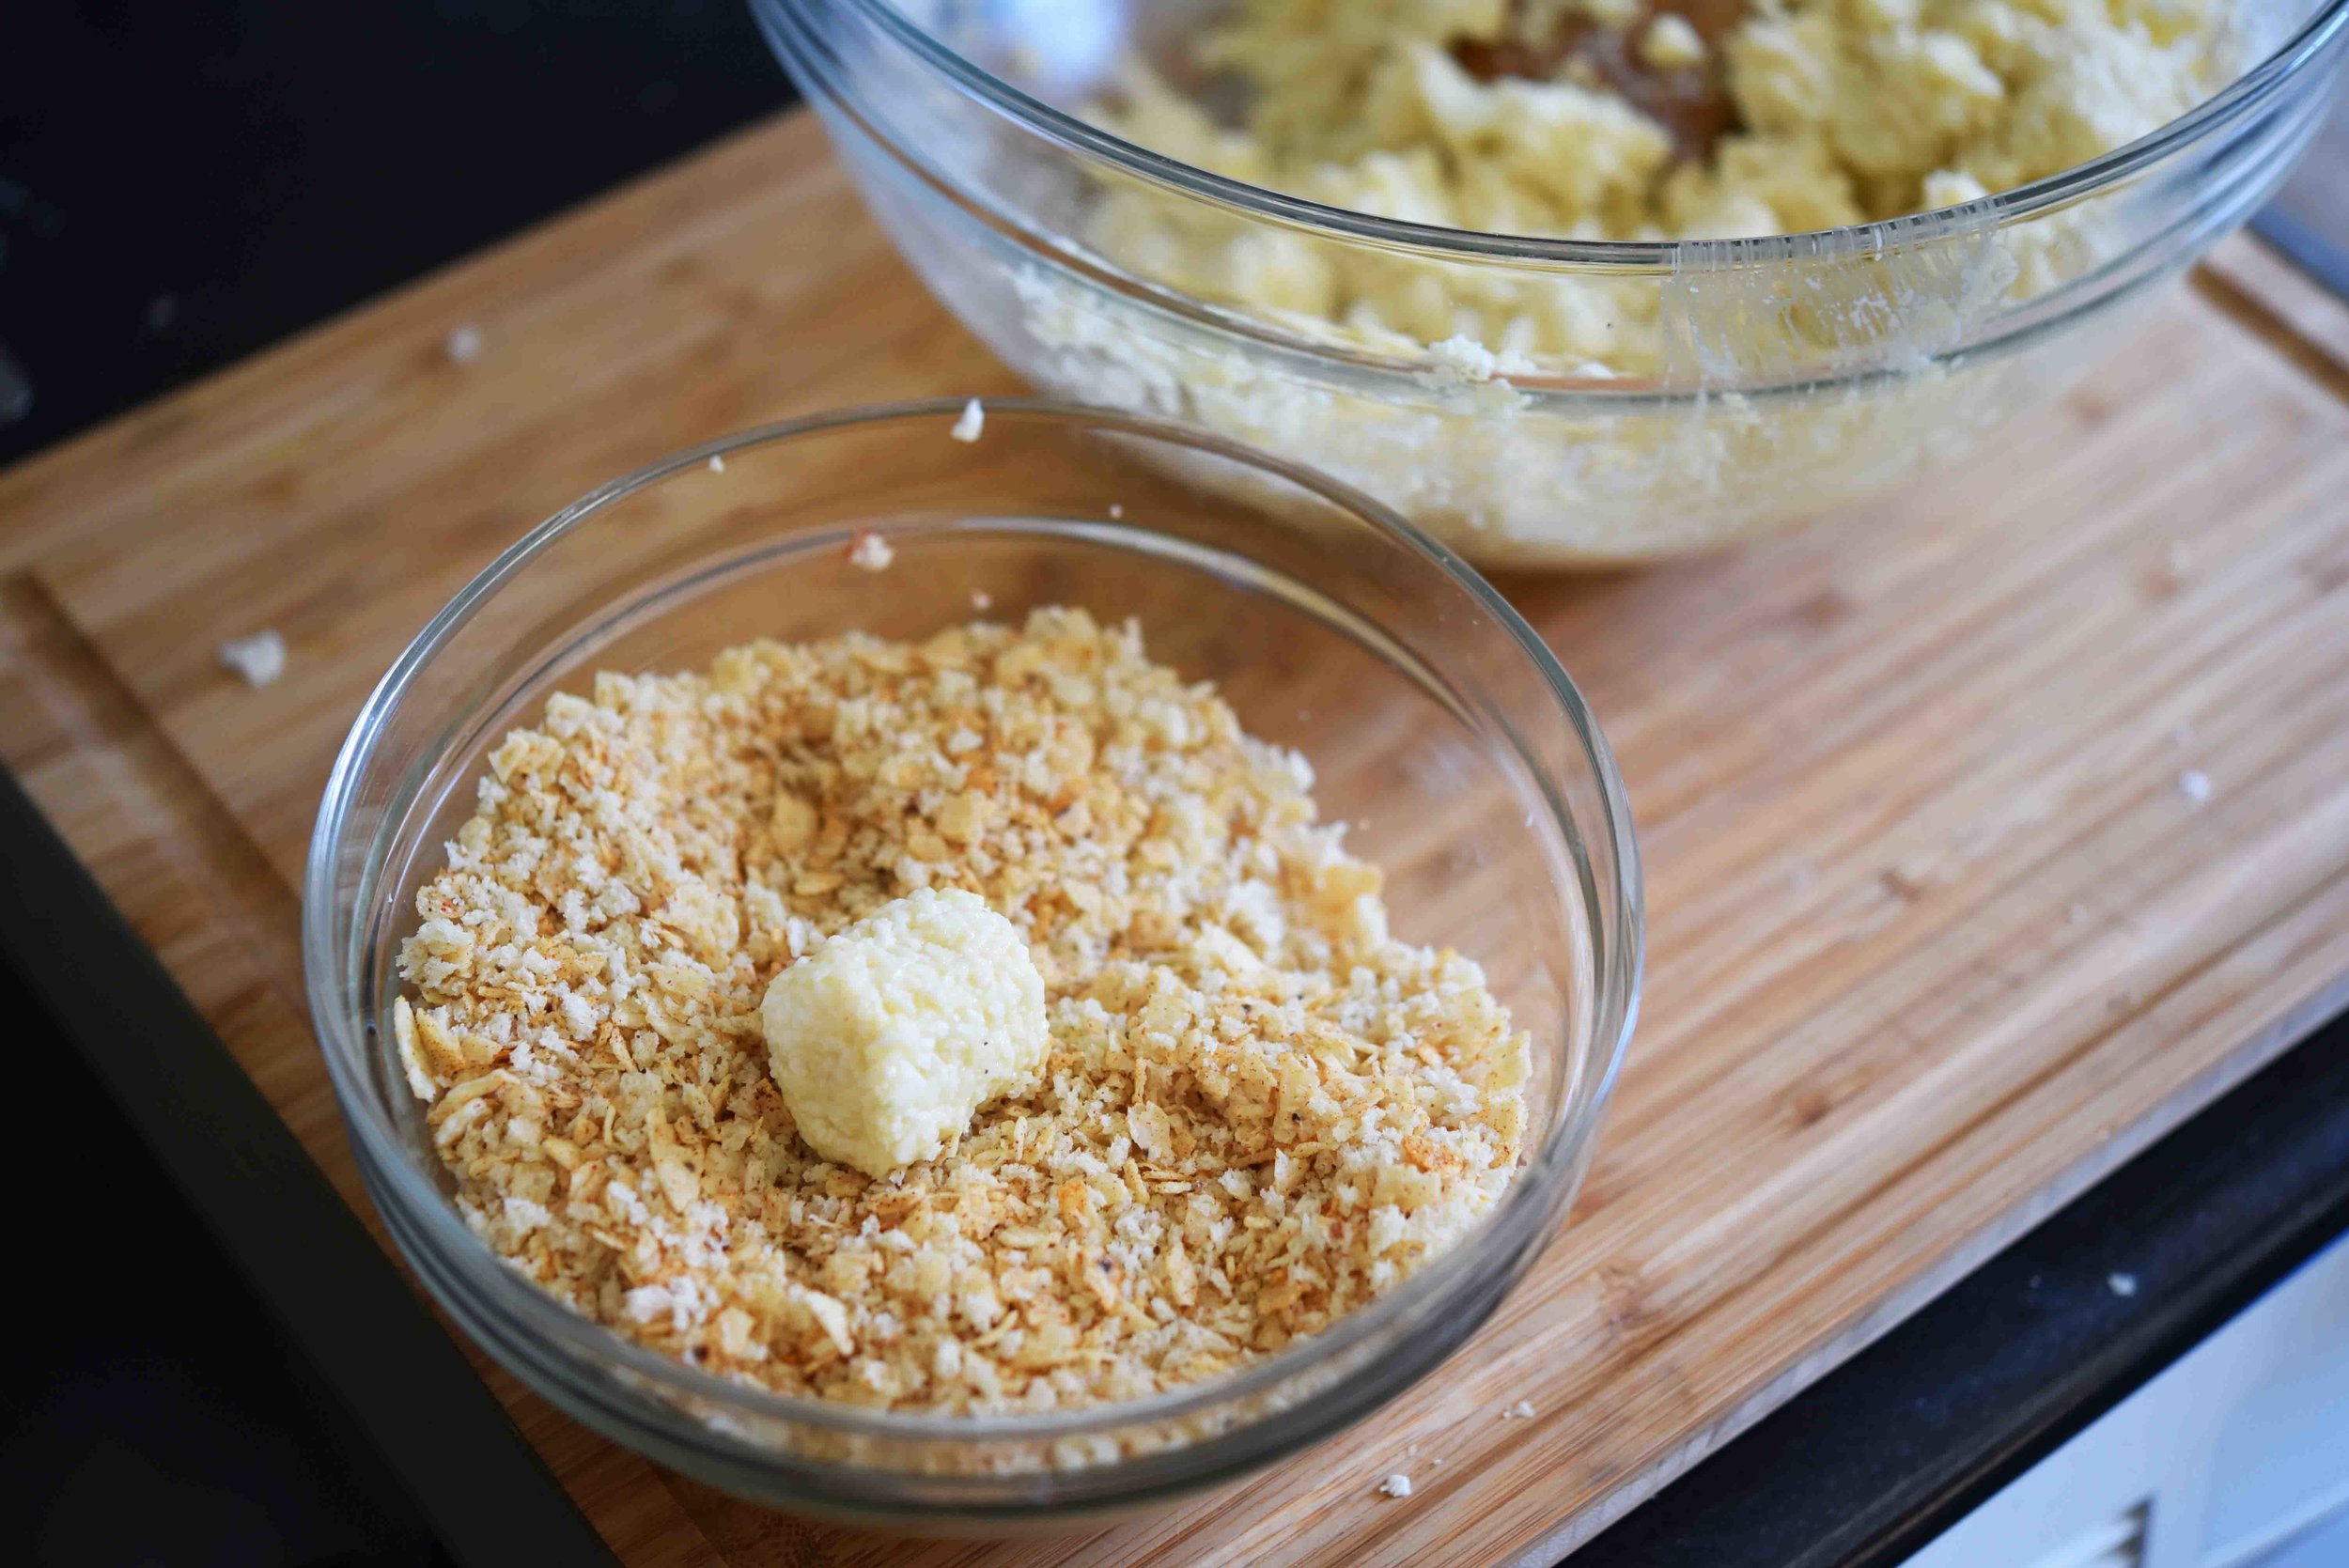
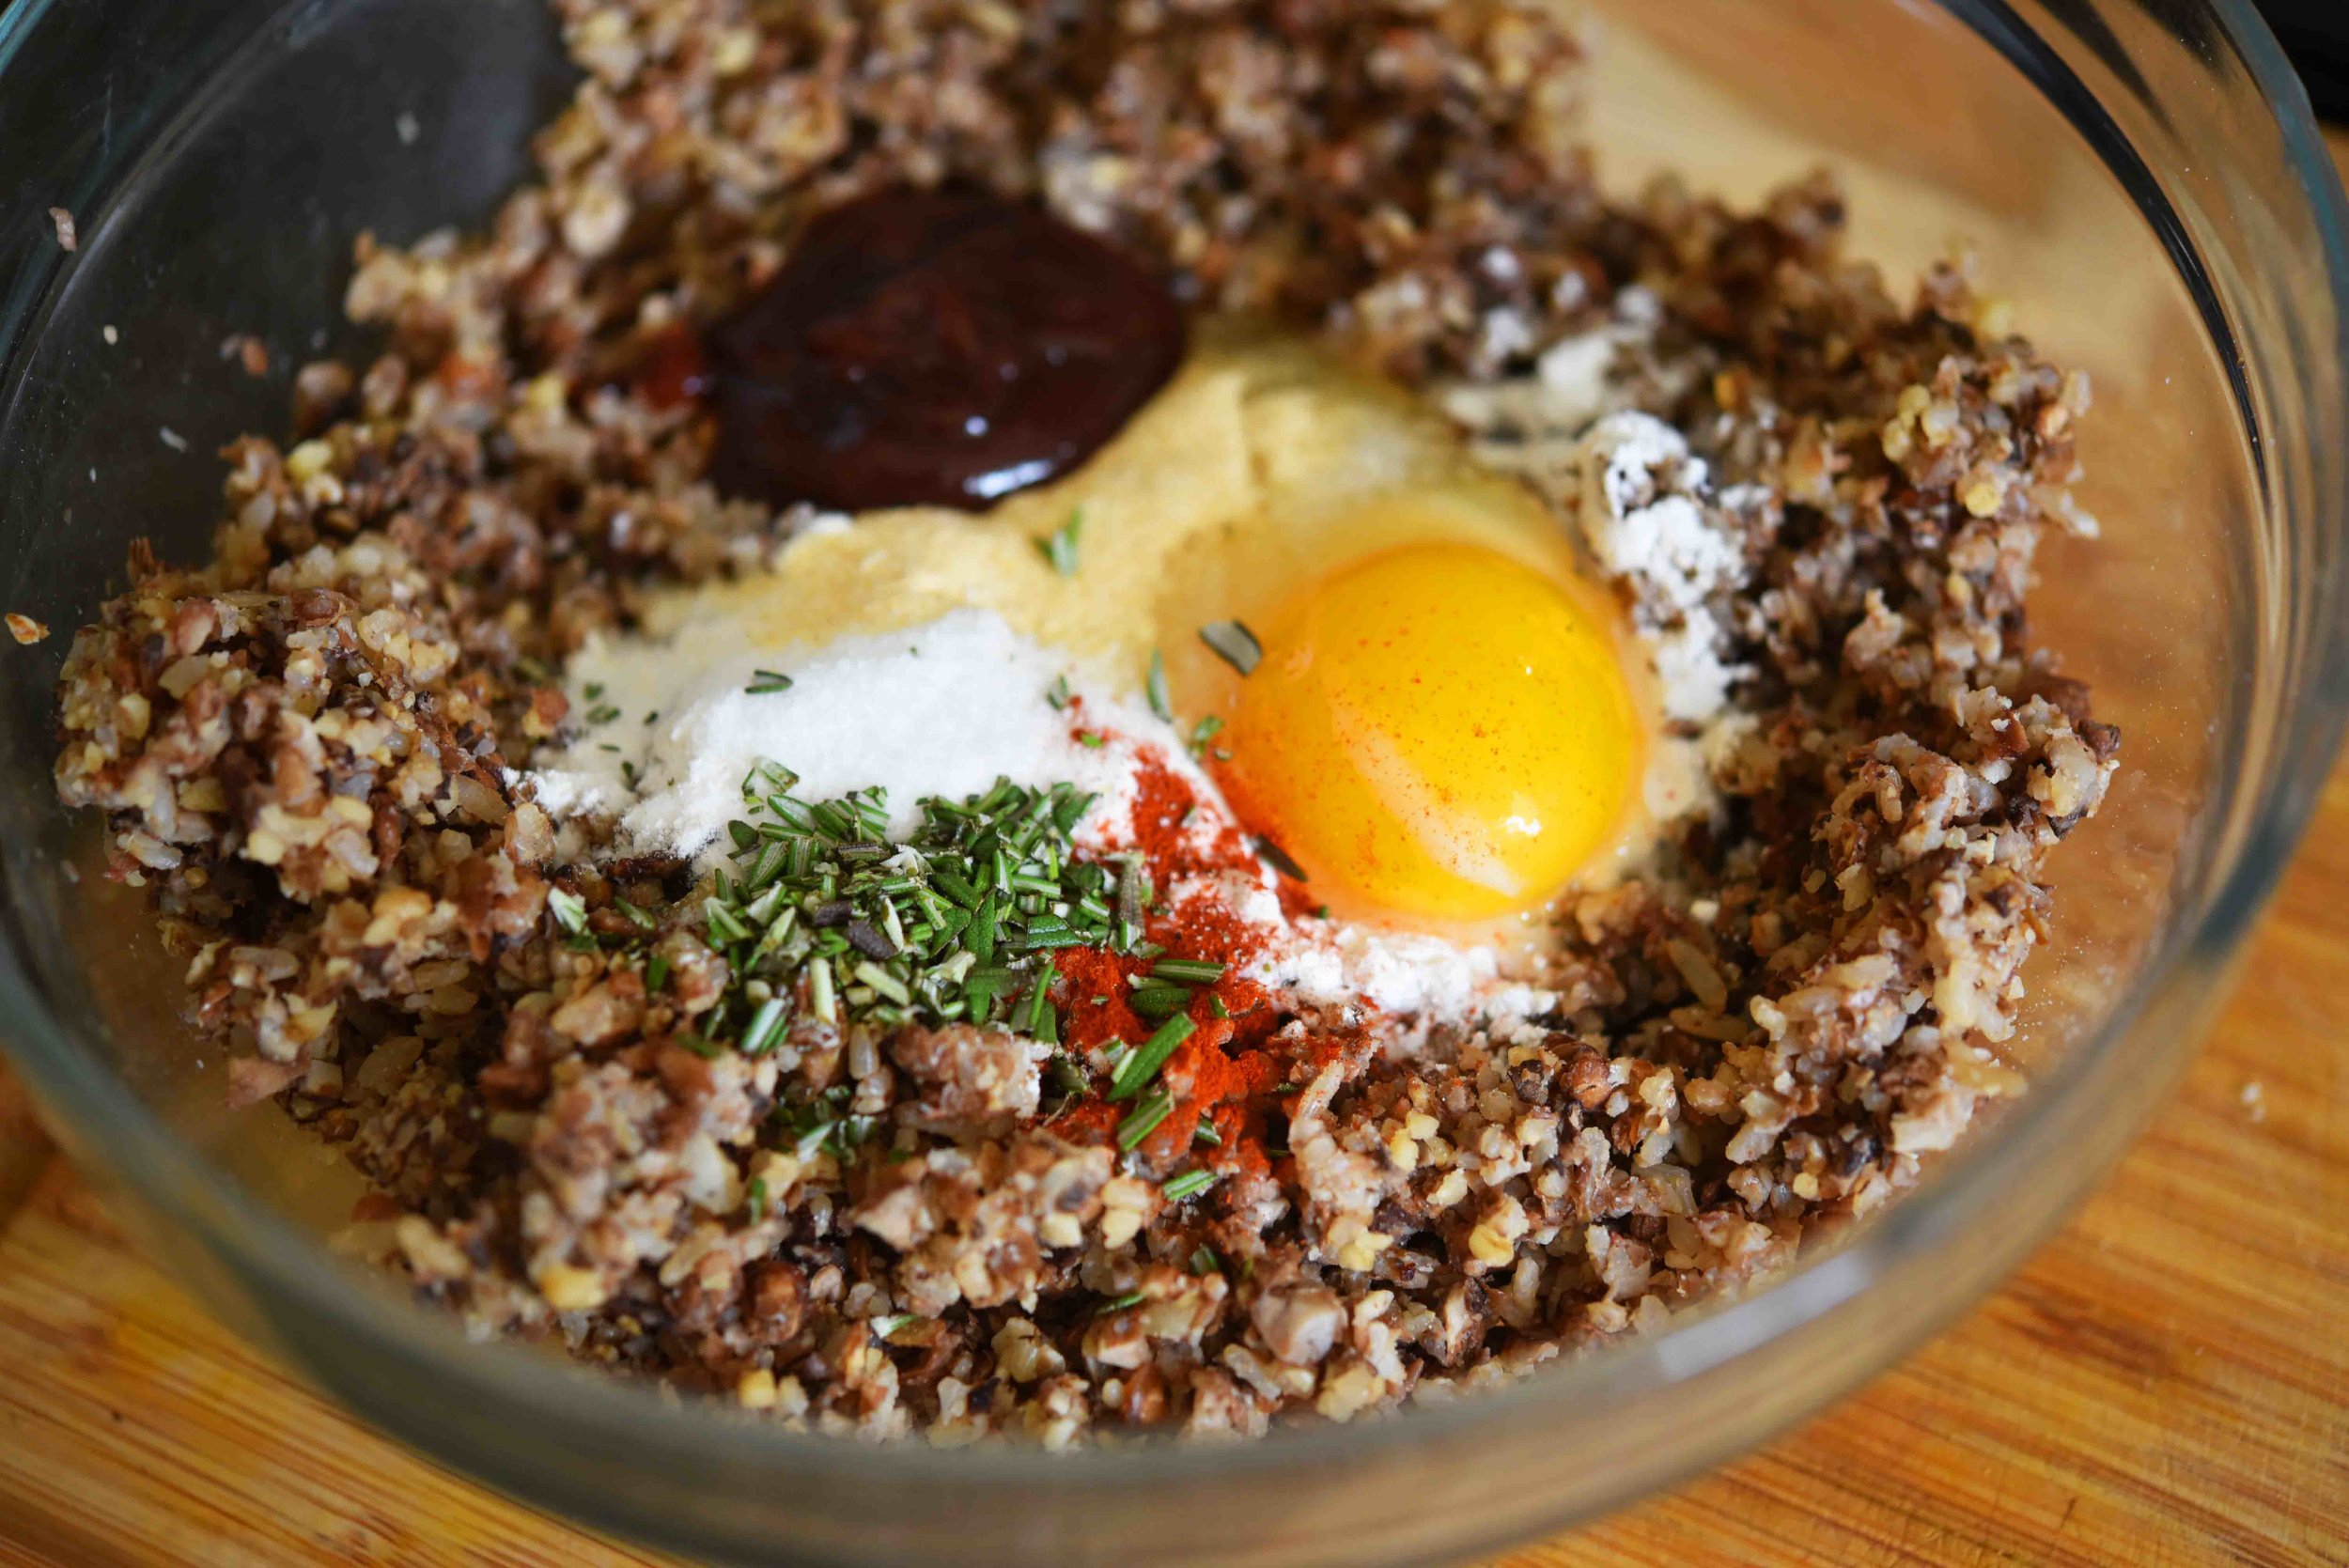
- While the beans, mushrooms, and rice are cooking, place the walnuts in the bowl of a food processor and pulse them until they are coarsely ground. When the lentils, mushrooms, and rice have finished roasting, add them to the food processor and pulse until well-combined, but not completely smooth. Then add the flour, barbeque sauce, egg, salt, garlic powder, rosemary, and paprika and pulse just until all ingredients are combined.
- Next, form the mixture by hand into either 4 large patties or 6 small ones. Then heat the oil in a large skillet over medium-high heat. Add the patties and cook them until they are well-browned and crisp—about 3 to 4 minutes per side.
Notes:
- ¾ cup dried lentils should yield the 1½ cups cooked lentils you need in this recipe. Also, ½ cup uncooked brown rice should yield the 1½ cups cooked rice needed.
- If you prefer to bake the patties rather than sautéing them, place them on a lightly-sprayed unlined tray and bake them at 400°F until they are golden brown and crispy on the outside, flipping halfway through—about 20 minutes.
- You can omit the flour for a gluten-free patty. The patties will be slightly less stable, but still very good.
- To prepare from frozen, bake patties at 400°F for 13 to15 minutes.