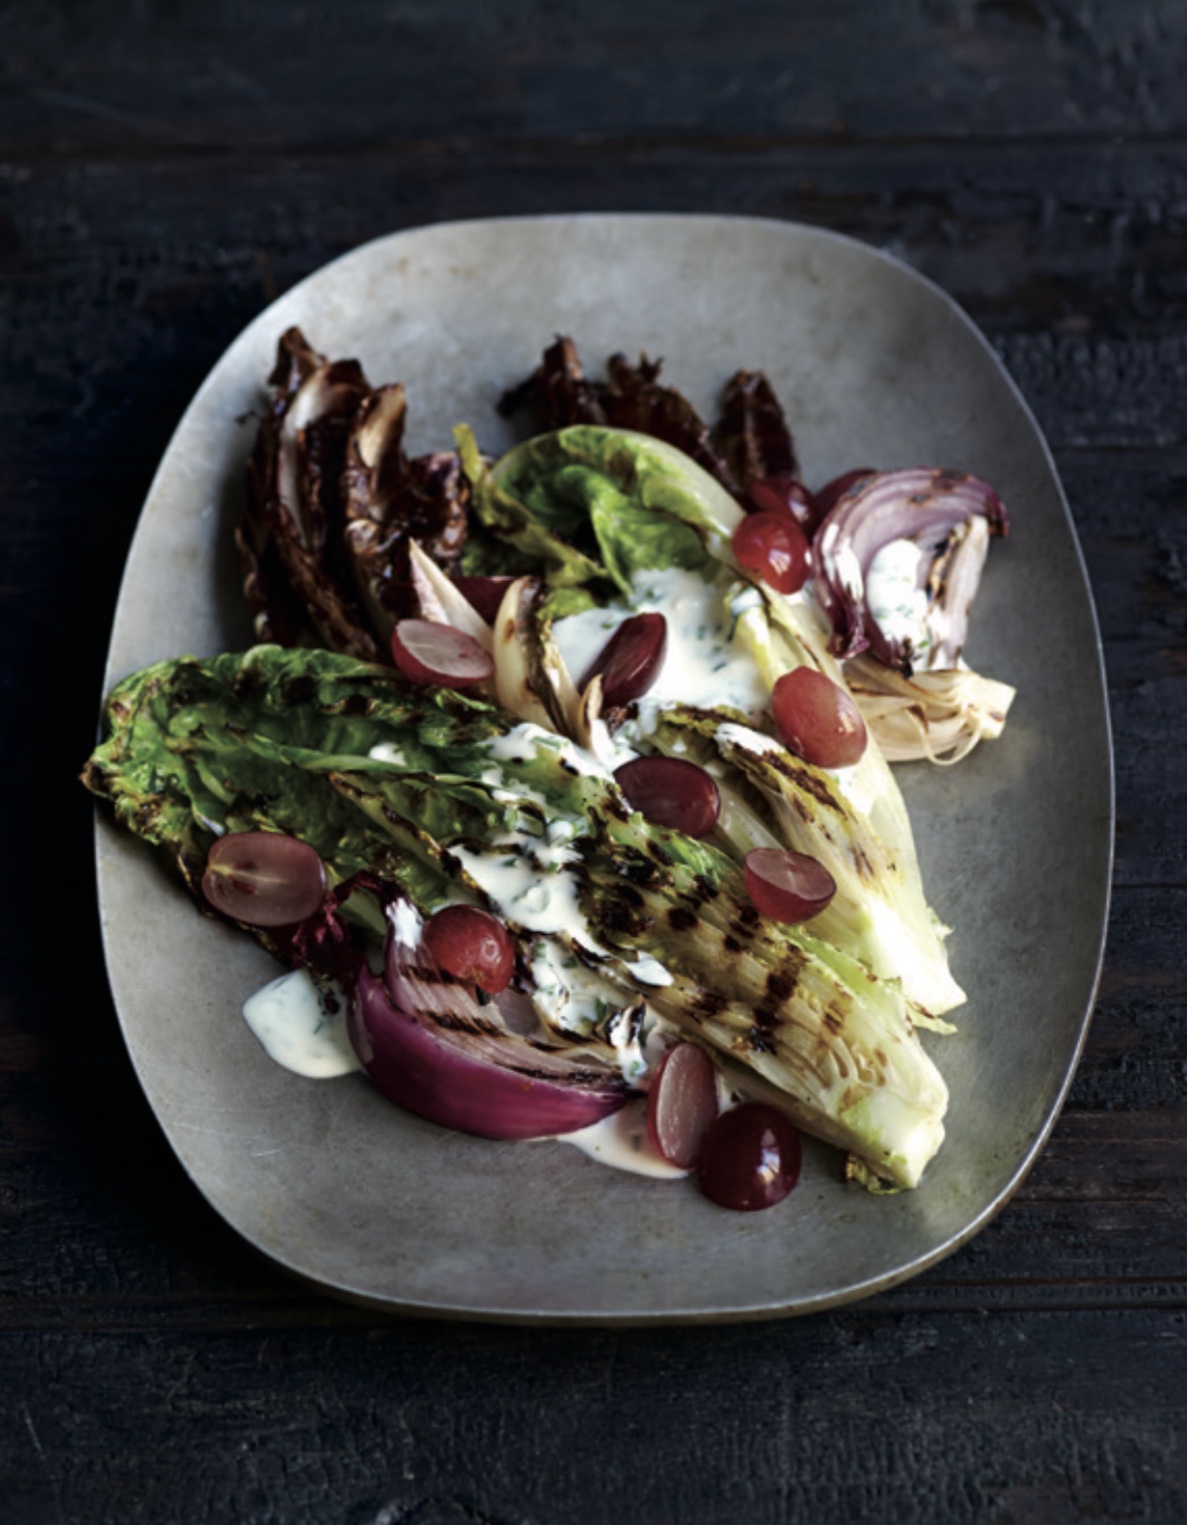
Grilled Romaine + Radicchio Salad with Honey-Orange Dressing

I LOVE this salad.
Yes, LOVE.
The char from the grill, the slightly bitter radicchio sweetened up by a dressing of honey and orange, and then the burst of fresh grapes to brighten up the smokiness.
Make this for your next dinner party, make it tonight, heck make it for breakfast—just make it!
Grilled Romaine + Radicchio Salad with Honey-Orange Dressing
servings: 4; makes about 1 cup dressing

Honey-Orange Dressing:
- ½ cup Greek yogurt
- ¼ cup mayonnaise
- ¼ cup orange juice
- 1 tablespoon honey
- 1 teaspoon white wine vinegar
- ½ teaspoon kosher salt
- 1 teaspoon finely chopped chives
Romaine + Radicchio Salad:
- 2 romaine lettuce hearts, cut lengthwise into 4 wedges
- 1 radicchio, cut lengthwise into 8 wedges
- 1 red onion, cut lengthwise into 8 wedges
- 2 tablespoons olive oil
- 1 teaspoon kosher salt
- 1½ cups halved red grapes
Honey-Orange Dressing:
- Add the yogurt, mayonnaise, orange juice, honey, vinegar, and salt to a medium bowl. Whisk together until well blended; then whisk in the chives.
Romaine + Radicchio Salad:
- Heat a gas or charcoal grill (or plan to use a grill pan). Use a pastry brush to brush the oil over all surfaces of the romaine, radicchio, and onion wedges; then sprinkle the salt evenly over them.
- If not using a grill, heat a grill pan over high heat. Working in batches if necessary, arrange the romaine, radicchio, and onions on the hot grill or grill pan. Cook until all pieces are slightly wilted and charred on all sides—1 to 2 minutes per side for the romaine and radicchio, 2 to 4 minutes per side for the onions.
- To serve, divide the romaine, radicchio, and onions among 4 plates. Ladle one-quarter of the dressing (about ¼ cup) over each serving. Divide the grapes over the tops.
Make It Meaty:
- When the veggies are done, leave the grill or grill pan on and cook up a small pork tenderloin. Cut, place next to the veggies and top everything with the dressing.